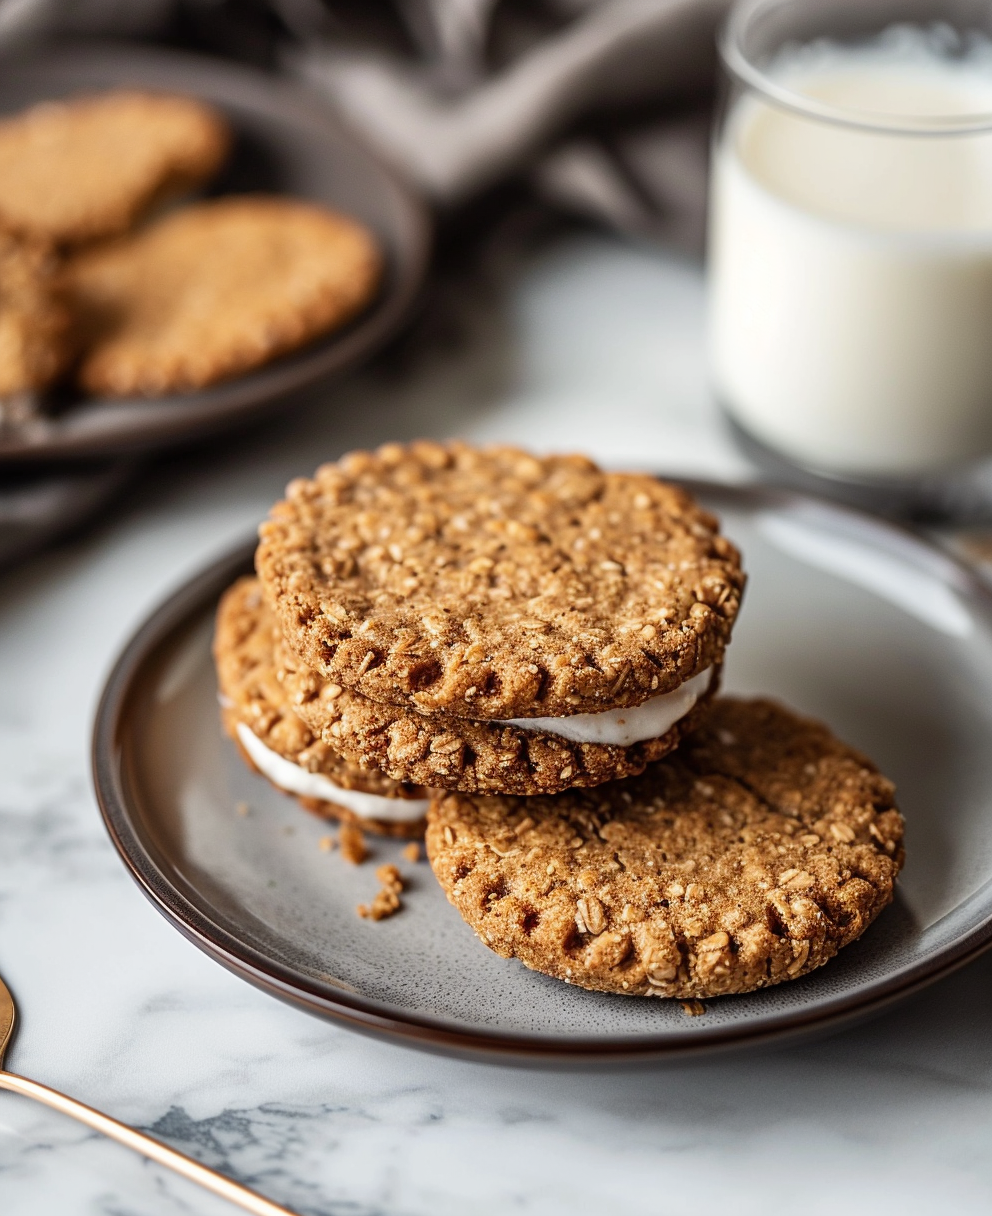
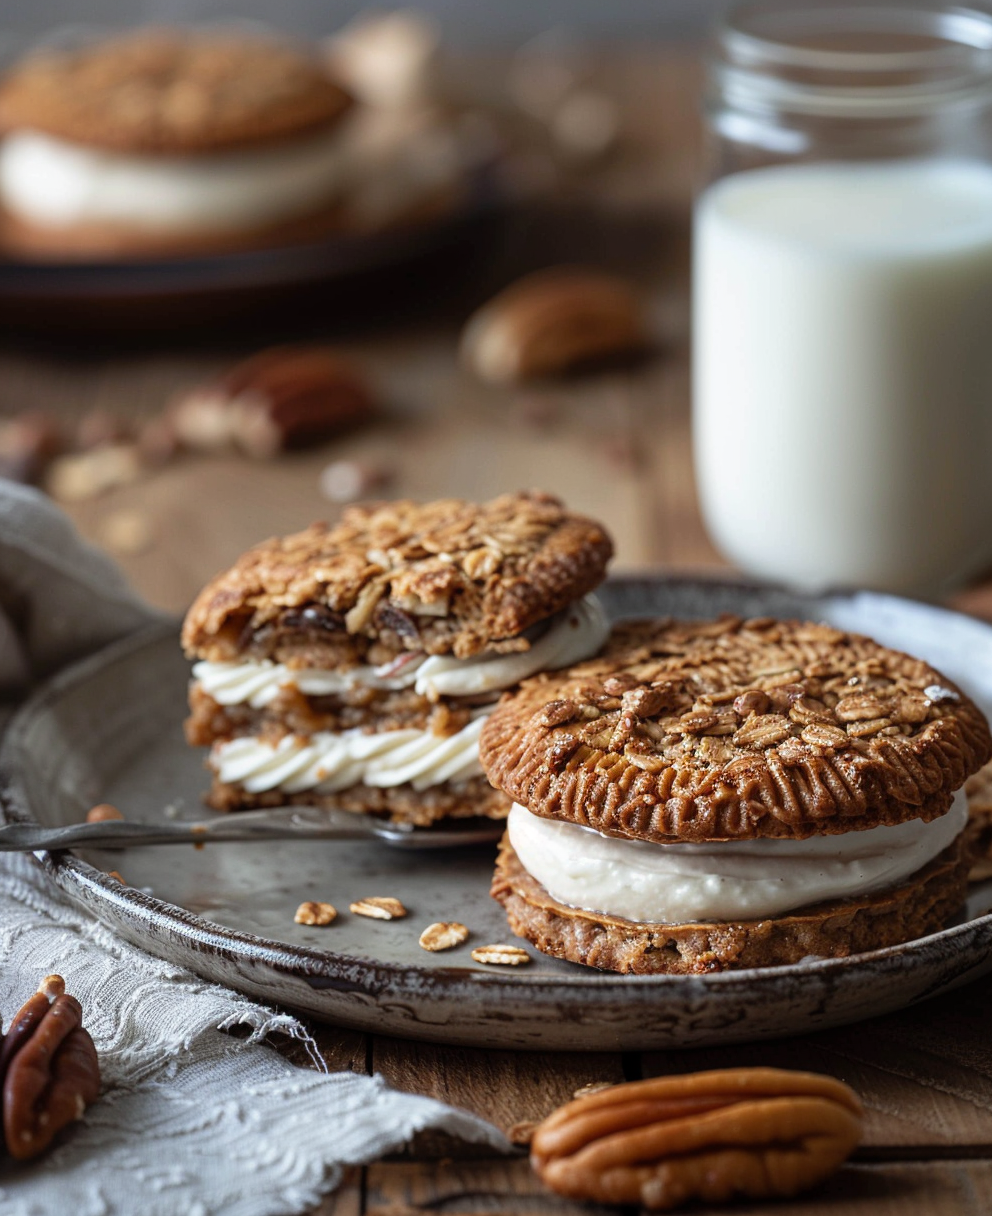
Why These Gluten Free Oatmeal Cream Pies Are a Must-Try
Picture this: you’re a kid again, sneaking a soft, chewy oatmeal cream pie from the pantry. The creamy filling melting in your mouth, the slightly spiced oatmeal cookies hugging it like a warm hug. Fast forward to today, and guess what? You can still enjoy that magic—without the gluten. After countless batches and taste tests with my family (yes, they were very willing guinea pigs), I perfected this recipe for gluten free oatmeal cream pies. It’s everything you loved about the classic version but with a healthier twist. Whether you’re gluten-free or just curious, these little gems are about to become your new obsession.
A Little History of the Oatmeal Cream Pie
Oatmeal cream pies have been around for ages, but let’s be honest—they hit their peak fame thanks to Little Debbie. Those pre-packaged treats were a lunchbox staple for many. But did you know that oatmeal itself has been a kitchen favorite since medieval times? Back then, oats were seen as peasant food, but fast forward to today, and they’re celebrated for their health benefits. My journey with homemade oatmeal cream pies started when I realized store-bought versions often had gluten lurking in the ingredients. So, I rolled up my sleeves and created a version that’s safe for everyone to enjoy.
Why You’ll Love This Recipe
This gluten free oatmeal pie recipe is pure comfort in cookie form. The cookies are soft, slightly chewy, and packed with cozy spices like cinnamon and nutmeg. The creamy filling? Oh, it’s dreamy—sweet but not too sweet, with a hint of vanilla. Plus, making these from scratch means you control the ingredients. No weird preservatives, just wholesome goodness. And trust me, once you bite into these oatmeal sandwich cookies, you’ll wonder why you ever settled for the store-bought kind.
Perfect Occasions for These Cream Pies
These gluten free oatmeal cakes are perfect for so many occasions. Bake them for a school bake sale, pack them in your kid’s lunchbox, or serve them at a holiday cookie exchange. They’re also a hit at potlucks or as a sweet treat after a family dinner. Honestly, any day is a good day for these. I once made them for a friend’s birthday who has celiac disease, and she said it was the best dessert she’d had in years. That’s when I knew this recipe was special.
Ingredients
- 1 cup gluten-free rolled oats
- 1 cup gluten-free all-purpose flour
- 1 tsp baking soda
- 1/2 tsp salt
- 1 tsp ground cinnamon
- 1/4 tsp ground nutmeg
- 1/2 cup unsalted butter, softened
- 1/2 cup brown sugar
- 1/4 cup granulated sugar
- 1 large egg
- 1 tsp vanilla extract
- 1/4 cup milk (dairy or non-dairy)
- 1/2 cup unsalted butter, softened (for filling)
- 1 cup powdered sugar (for filling)
- 1 tsp vanilla extract (for filling)
Substitution Options
- Gluten-free flour: Swap with almond flour for a lower-carb option.
- Milk: Use coconut milk or almond milk if you’re dairy-free.
- Sugar: Replace granulated sugar with coconut sugar for a deeper flavor.
Preparation Section
Step 1: Preheat and Prep
Start by preheating your oven to 350°F (175°C). Line a baking sheet with parchment paper. This step is crucial—it prevents sticking and makes cleanup a breeze. While the oven heats, measure out all your ingredients. Pro tip: Having everything ready before you start mixing saves time and reduces stress.
Step 2: Mix the Dry Ingredients
In a medium bowl, whisk together the gluten-free flour, baking soda, salt, cinnamon, and nutmeg. The blend of spices should smell warm and inviting, like fall in a bowl. If you don’t have nutmeg, no worries—just double up on the cinnamon. The aroma alone will make your kitchen feel cozy.
Step 3: Cream the Butter and Sugars
In a separate large bowl, cream the butter, brown sugar, and granulated sugar until light and fluffy. This step is where the magic begins. The butter should turn pale yellow, and the sugars will dissolve slightly, creating a smooth texture. Add the egg and vanilla, mixing until fully combined. Chef’s tip: Use room-temperature butter for easier blending.
Step 4: Combine Wet and Dry Ingredients
Gradually add the dry ingredients to the wet mixture, alternating with the milk. Stir until just combined—don’t overmix, or your cookies will turn tough. Fold in the oats last. The dough should be thick and sticky, with visible oats adding texture.
Step 5: Shape and Bake
Scoop tablespoon-sized portions of dough onto the prepared baking sheet, spacing them about 2 inches apart. Flatten each ball slightly with the back of a spoon. Bake for 8–10 minutes, or until the edges are golden brown. Let them cool completely before assembling the sandwiches.
Step 6: Make the Filling
While the cookies cool, whip up the filling. Beat the softened butter until creamy, then gradually add the powdered sugar and vanilla. The filling should be smooth and spreadable. Spread a generous dollop onto the flat side of one cookie, then top with another to create a sandwich.
Timing
- Prep Time: 15 minutes
- Cooking Time: 10 minutes per batch
- Resting Time: 15 minutes (for cooling)
- Total Time: 40 minutes
Chef’s Secret
To make these low carb oatmeal cream pies, swap the sugar in the filling with a sugar-free alternative like erythritol. It keeps the sweetness without the sugar spike.
Extra Info
Did you know that oats are naturally gluten-free? However, cross-contamination during processing can happen. Always look for oats labeled “certified gluten-free” to ensure safety.
Necessary Equipment
- Mixing bowls
- Whisk
- Electric mixer
- Baking sheet
- Parchment paper
- Cookie scoop
Storage
Store these gluten free snack cakes in an airtight container at room temperature for up to 3 days. If you live in a warm climate, pop them in the fridge to keep the filling firm. For longer storage, freeze the assembled pies for up to 2 months. Just thaw them at room temperature before serving.
If freezing, wrap each pie individually in plastic wrap to prevent freezer burn. When you’re ready to enjoy, let them sit at room temperature for 15 minutes. They’ll taste as fresh as the day you baked them.
Pro tip: Keep a batch in the freezer for unexpected guests. Nothing says “welcome” like a plate of homemade treats.
Tips and Advice
- Toast the oats lightly before adding them to the dough for extra flavor.
- Chill the dough for 15 minutes if it’s too sticky to handle.
- Use a piping bag to apply the filling for a neater look.
Presentation Tips
- Dust the tops with powdered sugar for a fancy touch.
- Serve on a rustic wooden board for a cozy vibe.
- Add a sprig of mint for a pop of color.
Healthier Alternative Recipes
Here are 6 variations to try:
- Vegan Version: Use plant-based butter and flax eggs.
- Low-Carb Version: Substitute almond flour and erythritol.
- Protein-Packed: Add a scoop of protein powder to the dough.
- Fruit-Filled: Swirl jam into the filling for a fruity twist.
- Chocolate-Lover’s Dream: Add cocoa powder to the dough.
- Spice It Up: Add a pinch of ginger or cardamom to the mix.
Common Mistakes to Avoid
Mistake 1: Overbaking the Cookies
Overbaking leads to dry, crumbly cookies. Keep an eye on them—they’re done when the edges are golden but the centers are still soft. Pro tip: Remove them from the oven a minute early; they’ll continue cooking on the baking sheet.
Mistake 2: Skipping the Cooling Step
Rushing to assemble the pies while the cookies are still warm can cause the filling to melt. Patience pays off here—let them cool completely for the best results.
Mistake 3: Using the Wrong Oats
Instant oats won’t give you the same texture as rolled oats. Stick to certified gluten-free rolled oats for the best chewiness.
FAQ
Are Little Debbie oatmeal creme pies gluten-free?
No, Little Debbie oatmeal creme pies contain gluten. For a gluten-free option, try this native foods oatmeal cream pie recipe.
Is Marie Callender’s coconut cream pie gluten-free?
Unfortunately, Marie Callender’s coconut cream pie is not gluten-free. Check labels carefully or make your own gluten-free version at home.
Can oatmeal really be gluten-free?
Yes, oats are naturally gluten-free. However, cross-contamination can occur. Always choose certified gluten-free oats for safety.
Is oatmeal dream pie gluten-free?
It depends on the recipe. Traditional versions may not be gluten-free, but you can easily adapt them using gluten-free ingredients.
Swap regular flour for gluten-free flour and use certified gluten-free oats. Follow the same steps as traditional oatmeal cookies.
What can I use instead of oats in gluten free recipes?
Try quinoa flakes or finely ground nuts as substitutes for oats in gluten-free recipes.
Can I freeze oatmeal cream pies?
Absolutely! Wrap them individually and freeze for up to 2 months. Thaw at room temperature before serving.
How do I make the filling less sweet?
Reduce the amount of powdered sugar or use a sugar-free alternative like stevia or monk fruit.
Are these oatmeal cream pies kid-friendly?
Definitely! Kids love the soft cookies and creamy filling. Plus, they’re safe for gluten-free diets.
What’s the best way to store these pies?
Keep them in an airtight container at room temperature for up to 3 days or refrigerate for longer freshness.
Final Thoughts
These gluten free oatmeal cream pies are more than just a treat—they’re a labor of love. Whether you’re baking for yourself, your family, or friends, these cookies are sure to bring smiles. With their soft, chewy texture and creamy filling, they’re a reminder that delicious doesn’t have to mean complicated. So grab your apron, preheat that oven, and get ready to create something truly special. Happy baking!


