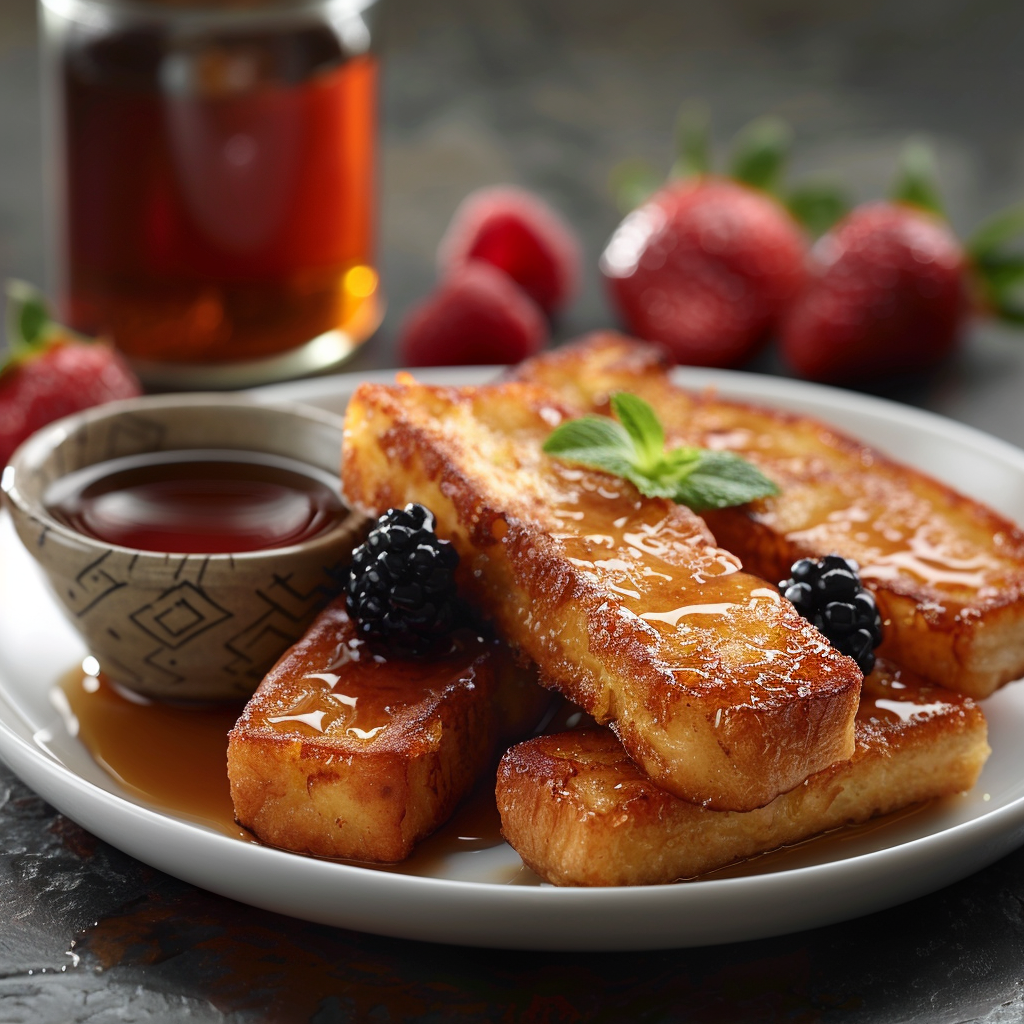
Quick French Toast Sticks with Maple Syrup: Irresistibly Delicious!

Quick French Toast Sticks with Maple Syrup

Start Your Day with a Sweet Twist

Remember that time I forgot to pack breakfast for my kids’ school trip? Chaos ensued, but out of desperation came magic: Quick French Toast Sticks with Maple Syrup. These golden sticks were such a hit that even the bus driver asked for seconds! They’re crispy on the outside, soft on the inside, and drenched in sticky maple goodness. What’s not to love? Let me show you why this recipe is a game-changer for busy mornings or lazy weekends.

A Bite of History

French toast isn’t exactly French—it’s been around since ancient Rome, believe it or not! The original version was more like soaked bread fried in oil. Fast forward to today, and we’ve got a sweeter, fancier cousin: Quick French Toast Sticks with Maple Syrup. My family loves them because they’re portable, fun to dip, and perfect for breakfast or brunch. I tested this recipe countless times, tweaking it until it became foolproof. Trust me, once you try it, you’ll never go back to plain old toast.

Why You’ll Love This Recipe

Let’s face it—life’s too short for boring breakfasts. This dish is quick, easy, and absolutely delicious. It takes less than 30 minutes from start to finish. Plus, who can resist the smell of cinnamon and vanilla wafting through the kitchen? And did I mention how kid-friendly it is? Serve these sticks with a side of fresh fruit, and you’ve got a meal everyone will rave about.

Perfect Occasions for This Treat

These Quick French Toast Sticks with Maple Syrup are versatile. Whip them up for a weekend brunch, pack them for picnics, or serve them at sleepovers. They’re also great for holiday mornings when you need something festive yet simple. Imagine your guests sipping coffee while munching on these warm, gooey delights. Pure bliss!

Ingredients

  1. 4 slices of thick-cut bread (like brioche or challah)
  2. 2 large eggs
  3. 1/2 cup milk
  4. 1 teaspoon vanilla extract
  5. 1 teaspoon ground cinnamon
  6. A pinch of salt
  7. 2 tablespoons butter (for cooking)
  8. Maple syrup (for serving)

Quick French Toast Sticks with Maple Syrup

Substitution Options

  • Use almond milk or soy milk instead of regular milk.
  • Swap white bread for whole wheat if you want a healthier twist.
  • If you’re out of maple syrup, honey or agave nectar works fine.

Preparation Section

Step 1: Slice the Bread

Grab your bread and slice each piece into three equal strips. Think of it as cutting a sandwich into bite-sized soldiers. Pro tip: Use a serrated knife for clean cuts without squishing the bread. Lay the strips on a plate so they’re ready for their egg bath.

Step 2: Mix the Batter

In a shallow bowl, whisk together the eggs, milk, vanilla, cinnamon, and salt. This mixture smells divine thanks to the vanilla and cinnamon combo. Make sure everything is well combined—you don’t want any eggy surprises later.

Step 3: Soak the Sticks

Dunk each bread strip into the batter, making sure both sides are coated. Don’t let them soak too long, though, or they’ll fall apart. About 5 seconds per side should do the trick. Place the soaked sticks on a plate while you heat up the pan.

Step 4: Cook Until Golden

Melt the butter in a nonstick skillet over medium heat. Once it starts sizzling, add the sticks in batches. Cook each side for 2-3 minutes until golden brown and slightly crispy. Flip carefully with a spatula to avoid breaking them. The aroma at this stage is heavenly!

Step 5: Serve with Style

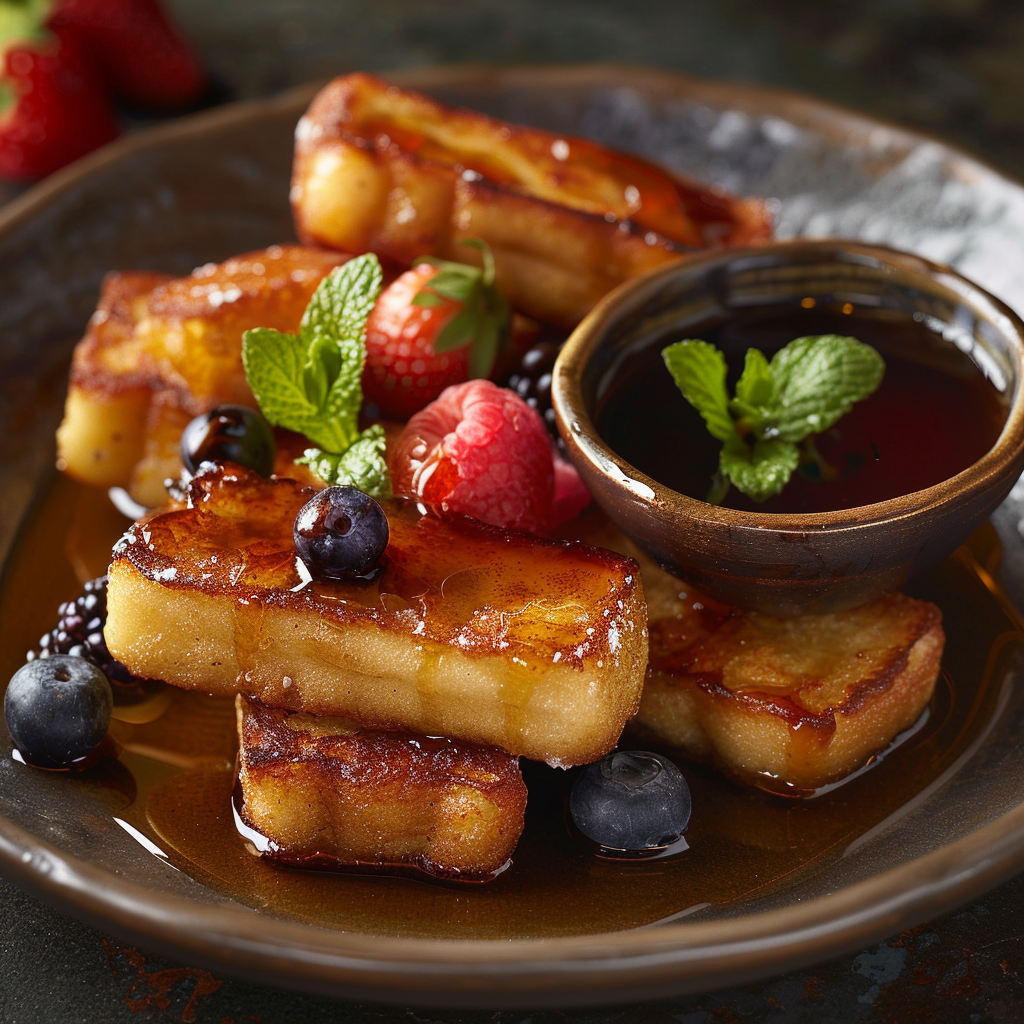
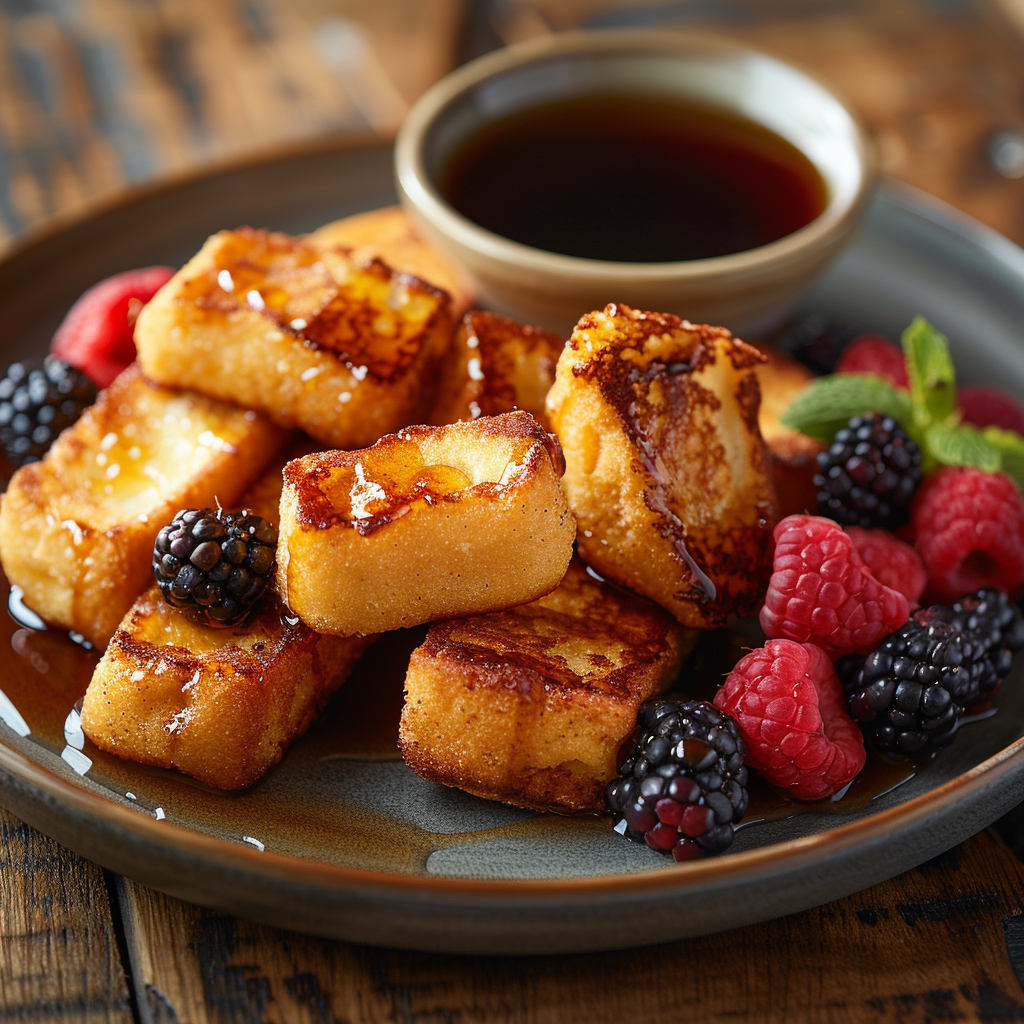
Arrange the sticks on a plate and drizzle generously with maple syrup. For extra flair, sprinkle a dash of powdered sugar or add fresh berries. Chef’s tip: Warm the syrup before pouring—it makes every bite taste richer.

Timing

Here’s the breakdown: Prep time is about 10 minutes, cooking takes another 10, and there’s no resting time needed. Total time? Just 20 minutes. Perfect for those mornings when you’re running late but still crave something special.

Chef’s Secret

To make the sticks extra crispy, toast the bread lightly before soaking it. This little trick gives them a delightful crunch that pairs beautifully with the soft interior.

Extra Info

Did you know that maple syrup comes from tapping trees? It takes about 40 gallons of sap to produce just one gallon of syrup. That’s why real maple syrup is liquid gold—and totally worth splurging on for this recipe.

Necessary Equipment

  • Nonstick skillet
  • Whisk
  • Shallow bowl
  • Spatula
  • Plate for serving

Storage

If you have leftovers (unlikely, but possible), store them in an airtight container in the fridge for up to two days. Reheat in the oven at 350°F for 5-7 minutes to restore crispiness.

Freezing is another option. Wrap the cooled sticks individually in plastic wrap, then place them in a freezer bag. They’ll keep for up to a month. To reheat, pop them in the toaster oven straight from frozen.

Never microwave these babies—it turns them soggy. Stick to the oven or toaster for best results.

Tips and Advice

Always use stale bread for French toast. Fresh bread absorbs too much liquid and becomes mushy. If your bread is too fresh, leave it out overnight to dry slightly.

For deeper flavor, add a splash of nutmeg or orange zest to the batter. These tiny tweaks elevate the dish instantly.

Quick French Toast Sticks with Maple Syrup

Presentation Tips

  • Serve the sticks standing upright in a tall glass for a fun diner vibe.
  • Garnish with mint leaves or edible flowers for elegance.
  • Create a dipping station with multiple syrups and toppings.

Healthier Alternative Recipes

Want to lighten things up? Here are six variations:

  1. Whole Wheat Version: Swap white bread for whole wheat to boost fiber content.
  2. Egg-Free Option: Replace eggs with mashed banana for binding.
  3. Vegan Delight: Use plant-based milk and skip the butter by spraying oil.
  4. Protein-Packed: Add a scoop of protein powder to the batter.
  5. Low-Carb Choice: Use almond flour bread to cut carbs.
  6. Fruit-Infused: Blend pureed strawberries into the batter for natural sweetness.

Common Mistakes to Avoid

Mistake 1: Over-Soaking the Bread

This happens when you leave the bread in the batter for too long. It falls apart during cooking and creates a soggy mess. To avoid this, dip quickly and evenly coat both sides.

Mistake 2: Using Thin Bread

Thin slices burn easily and lack the fluffy texture we love. Always opt for thick-cut bread like brioche or challah.

Mistake 3: Skipping Preheating

A cold pan means uneven cooking. Heat your skillet properly before adding the sticks. Pro tip: Test the heat by flicking a drop of water—if it sizzles, you’re good to go.

FAQ

Can I make this recipe gluten-free?

Absolutely! Use gluten-free bread and ensure your other ingredients are certified gluten-free. The process remains the same, and the result is equally tasty.

What type of syrup is best?

Real maple syrup is ideal for its rich flavor, but alternatives like honey or agave work well too. Choose based on your preference and dietary needs.

How many servings does this recipe yield?

This recipe serves 2-3 people, depending on appetite. Double the ingredients if you’re feeding a larger crowd.

Can I prepare the batter ahead of time?

Yes, mix the batter the night before and store it in the fridge. Just give it a quick stir before using.

Is this recipe suitable for kids?

Definitely! Kids adore the sweet, sticky flavors and find the sticks fun to eat. You can even let them help with dipping.

Can I freeze leftover sticks?

Of course! Wrap them individually and freeze for up to a month. Reheat in the oven for best results.

Do I need special equipment?

Nope! A nonstick skillet and basic kitchen tools are all you need. Keep it simple.

What’s the best bread to use?

Brioche or challah is highly recommended. Their richness complements the flavors perfectly.

Can I add spices to the batter?

Yes! Nutmeg, cardamom, or even pumpkin spice blend adds depth to the flavor profile.

How do I prevent sticking?

Use enough butter in the pan and avoid overcrowding. This ensures even cooking and prevents sticking.

A Sweet Ending

There you have it—your ultimate guide to making Quick French Toast Sticks with Maple Syrup. Whether you’re feeding a hungry family or impressing guests, this dish delivers every time. With its crispy edges, soft centers, and sticky-sweet topping, it’s bound to become a staple in your home. So grab your skillet and get cooking. Breakfast just got a whole lot better!
Quick French Toast Sticks with Maple Syrup

Quick French Toast Sticks with Maple Syrup

Quick French Toast Sticks with Maple Syrup: Irresistibly Delicious!

Start Your Day with a Sweet Twist

Remember that time I forgot to pack breakfast for my kids’ school trip? Chaos ensued, but out of desperation came magic: Quick French Toast Sticks with Maple Syrup. These golden sticks were such a hit that even the bus driver asked for seconds! They’re crispy on the outside, soft on the inside, and drenched in sticky maple goodness. What’s not to love? Let me show you why this recipe is a game-changer for busy mornings or lazy weekends.

A Bite of History

French toast isn’t exactly French—it’s been around since ancient Rome, believe it or not! The original version was more like soaked bread fried in oil. Fast forward to today, and we’ve got a sweeter, fancier cousin: Quick French Toast Sticks with Maple Syrup. My family loves them because they’re portable, fun to dip, and perfect for breakfast or brunch. I tested this recipe countless times, tweaking it until it became foolproof. Trust me, once you try it, you’ll never go back to plain old toast.

Why You’ll Love This Recipe

Let’s face it—life’s too short for boring breakfasts. This dish is quick, easy, and absolutely delicious. It takes less than 30 minutes from start to finish. Plus, who can resist the smell of cinnamon and vanilla wafting through the kitchen? And did I mention how kid-friendly it is? Serve these sticks with a side of fresh fruit, and you’ve got a meal everyone will rave about.

Perfect Occasions for This Treat

These Quick French Toast Sticks with Maple Syrup are versatile. Whip them up for a weekend brunch, pack them for picnics, or serve them at sleepovers. They’re also great for holiday mornings when you need something festive yet simple. Imagine your guests sipping coffee while munching on these warm, gooey delights. Pure bliss!

Ingredients

  1. 4 slices of thick-cut bread (like brioche or challah)
  2. 2 large eggs
  3. 1/2 cup milk
  4. 1 teaspoon vanilla extract
  5. 1 teaspoon ground cinnamon
  6. A pinch of salt
  7. 2 tablespoons butter (for cooking)
  8. Maple syrup (for serving)
Quick French Toast Sticks with Maple Syrup

Substitution Options

  • Use almond milk or soy milk instead of regular milk.
  • Swap white bread for whole wheat if you want a healthier twist.
  • If you’re out of maple syrup, honey or agave nectar works fine.

Preparation Section

Step 1: Slice the Bread

Grab your bread and slice each piece into three equal strips. Think of it as cutting a sandwich into bite-sized soldiers. Pro tip: Use a serrated knife for clean cuts without squishing the bread. Lay the strips on a plate so they’re ready for their egg bath.

Step 2: Mix the Batter

In a shallow bowl, whisk together the eggs, milk, vanilla, cinnamon, and salt. This mixture smells divine thanks to the vanilla and cinnamon combo. Make sure everything is well combined—you don’t want any eggy surprises later.

Step 3: Soak the Sticks

Dunk each bread strip into the batter, making sure both sides are coated. Don’t let them soak too long, though, or they’ll fall apart. About 5 seconds per side should do the trick. Place the soaked sticks on a plate while you heat up the pan.

Step 4: Cook Until Golden

Melt the butter in a nonstick skillet over medium heat. Once it starts sizzling, add the sticks in batches. Cook each side for 2-3 minutes until golden brown and slightly crispy. Flip carefully with a spatula to avoid breaking them. The aroma at this stage is heavenly!

Step 5: Serve with Style

Arrange the sticks on a plate and drizzle generously with maple syrup. For extra flair, sprinkle a dash of powdered sugar or add fresh berries. Chef’s tip: Warm the syrup before pouring—it makes every bite taste richer.

Timing

Here’s the breakdown: Prep time is about 10 minutes, cooking takes another 10, and there’s no resting time needed. Total time? Just 20 minutes. Perfect for those mornings when you’re running late but still crave something special.

Chef’s Secret

To make the sticks extra crispy, toast the bread lightly before soaking it. This little trick gives them a delightful crunch that pairs beautifully with the soft interior.

Extra Info

Did you know that maple syrup comes from tapping trees? It takes about 40 gallons of sap to produce just one gallon of syrup. That’s why real maple syrup is liquid gold—and totally worth splurging on for this recipe.

Necessary Equipment

  • Nonstick skillet
  • Whisk
  • Shallow bowl
  • Spatula
  • Plate for serving

Storage

If you have leftovers (unlikely, but possible), store them in an airtight container in the fridge for up to two days. Reheat in the oven at 350°F for 5-7 minutes to restore crispiness.
Freezing is another option. Wrap the cooled sticks individually in plastic wrap, then place them in a freezer bag. They’ll keep for up to a month. To reheat, pop them in the toaster oven straight from frozen.
Never microwave these babies—it turns them soggy. Stick to the oven or toaster for best results.

Tips and Advice

Always use stale bread for French toast. Fresh bread absorbs too much liquid and becomes mushy. If your bread is too fresh, leave it out overnight to dry slightly.
For deeper flavor, add a splash of nutmeg or orange zest to the batter. These tiny tweaks elevate the dish instantly.
Quick French Toast Sticks with Maple Syrup

Presentation Tips

  • Serve the sticks standing upright in a tall glass for a fun diner vibe.
  • Garnish with mint leaves or edible flowers for elegance.
  • Create a dipping station with multiple syrups and toppings.

Healthier Alternative Recipes

Want to lighten things up? Here are six variations:
  1. Whole Wheat Version: Swap white bread for whole wheat to boost fiber content.
  2. Egg-Free Option: Replace eggs with mashed banana for binding.
  3. Vegan Delight: Use plant-based milk and skip the butter by spraying oil.
  4. Protein-Packed: Add a scoop of protein powder to the batter.
  5. Low-Carb Choice: Use almond flour bread to cut carbs.
  6. Fruit-Infused: Blend pureed strawberries into the batter for natural sweetness.

Common Mistakes to Avoid

Mistake 1: Over-Soaking the Bread

This happens when you leave the bread in the batter for too long. It falls apart during cooking and creates a soggy mess. To avoid this, dip quickly and evenly coat both sides.

Mistake 2: Using Thin Bread

Thin slices burn easily and lack the fluffy texture we love. Always opt for thick-cut bread like brioche or challah.

Mistake 3: Skipping Preheating

A cold pan means uneven cooking. Heat your skillet properly before adding the sticks. Pro tip: Test the heat by flicking a drop of water—if it sizzles, you’re good to go.

FAQ

Can I make this recipe gluten-free?

Absolutely! Use gluten-free bread and ensure your other ingredients are certified gluten-free. The process remains the same, and the result is equally tasty.

What type of syrup is best?

Real maple syrup is ideal for its rich flavor, but alternatives like honey or agave work well too. Choose based on your preference and dietary needs.

How many servings does this recipe yield?

This recipe serves 2-3 people, depending on appetite. Double the ingredients if you're feeding a larger crowd.

Can I prepare the batter ahead of time?

Yes, mix the batter the night before and store it in the fridge. Just give it a quick stir before using.

Is this recipe suitable for kids?

Definitely! Kids adore the sweet, sticky flavors and find the sticks fun to eat. You can even let them help with dipping.

Can I freeze leftover sticks?

Of course! Wrap them individually and freeze for up to a month. Reheat in the oven for best results.

Do I need special equipment?

Nope! A nonstick skillet and basic kitchen tools are all you need. Keep it simple.

What’s the best bread to use?

Brioche or challah is highly recommended. Their richness complements the flavors perfectly.

Can I add spices to the batter?

Yes! Nutmeg, cardamom, or even pumpkin spice blend adds depth to the flavor profile.

How do I prevent sticking?

Use enough butter in the pan and avoid overcrowding. This ensures even cooking and prevents sticking.

A Sweet Ending

There you have it—your ultimate guide to making Quick French Toast Sticks with Maple Syrup. Whether you’re feeding a hungry family or impressing guests, this dish delivers every time. With its crispy edges, soft centers, and sticky-sweet topping, it’s bound to become a staple in your home. So grab your skillet and get cooking. Breakfast just got a whole lot better!
Prep Time 10 minutes
Cook Time 10 minutes
Total Time 20 minutes
Servings: 2 people
Calories: 280

Ingredients
  

  • 4 slices thick-cut bread (like brioche or challah)
  • 2 large eggs
  • 1/2 cup milk
  • 1 teaspoon vanilla extract
  • 1 teaspoon ground cinnamon
  • a pinch salt
  • 2 tablespoons butter (for cooking)
  • Maple syrup (for serving)

Equipment

  • Nonstick skillet
  • Whisk
  • Shallow bowl
  • Spatula
  • Plate for serving

Method
 

  1. Slice each piece of bread into three equal strips.
  2. In a shallow bowl, whisk together the eggs, milk, vanilla, cinnamon, and salt.
  3. Dunk each bread strip into the batter for about 5 seconds per side and place on a plate.
  4. Melt butter in a nonstick skillet over medium heat and add the bread sticks in batches.
  5. Cook each side for 2-3 minutes until golden brown and crispy.
  6. Arrange the sticks on a plate and drizzle generously with maple syrup, optionally adding powdered sugar or fresh berries.

Nutrition

Calories: 280kcalCarbohydrates: 36gProtein: 6gFat: 12gSaturated Fat: 7gCholesterol: 130mgSodium: 300mgPotassium: 250mgFiber: 1gSugar: 10gVitamin A: 10IUCalcium: 10mgIron: 8mg

Notes

This recipe is very much appreciated for its ease and irresistible taste. A dessert that will impress your pastry skills!
Tried this recipe?Let us know how it was!
Contents hide

Leave a Comment

Recipe Rating