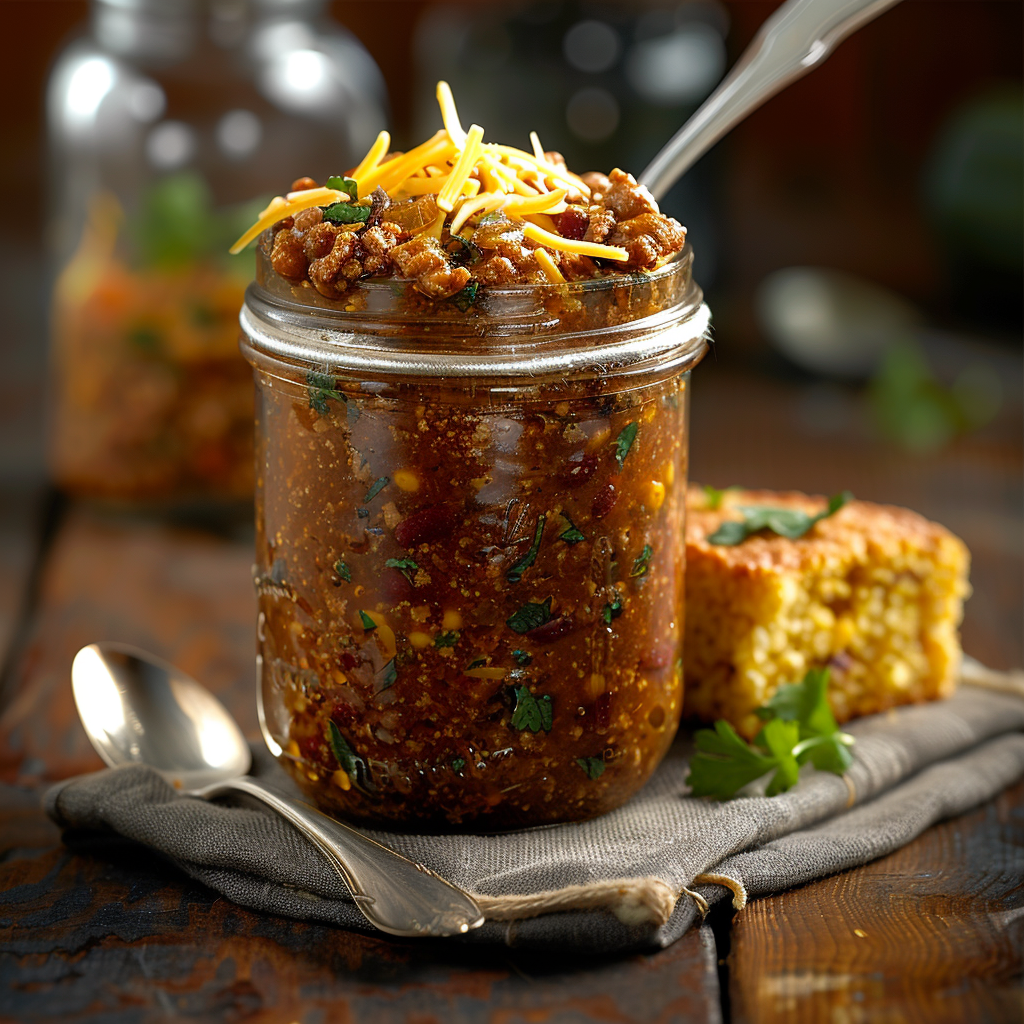
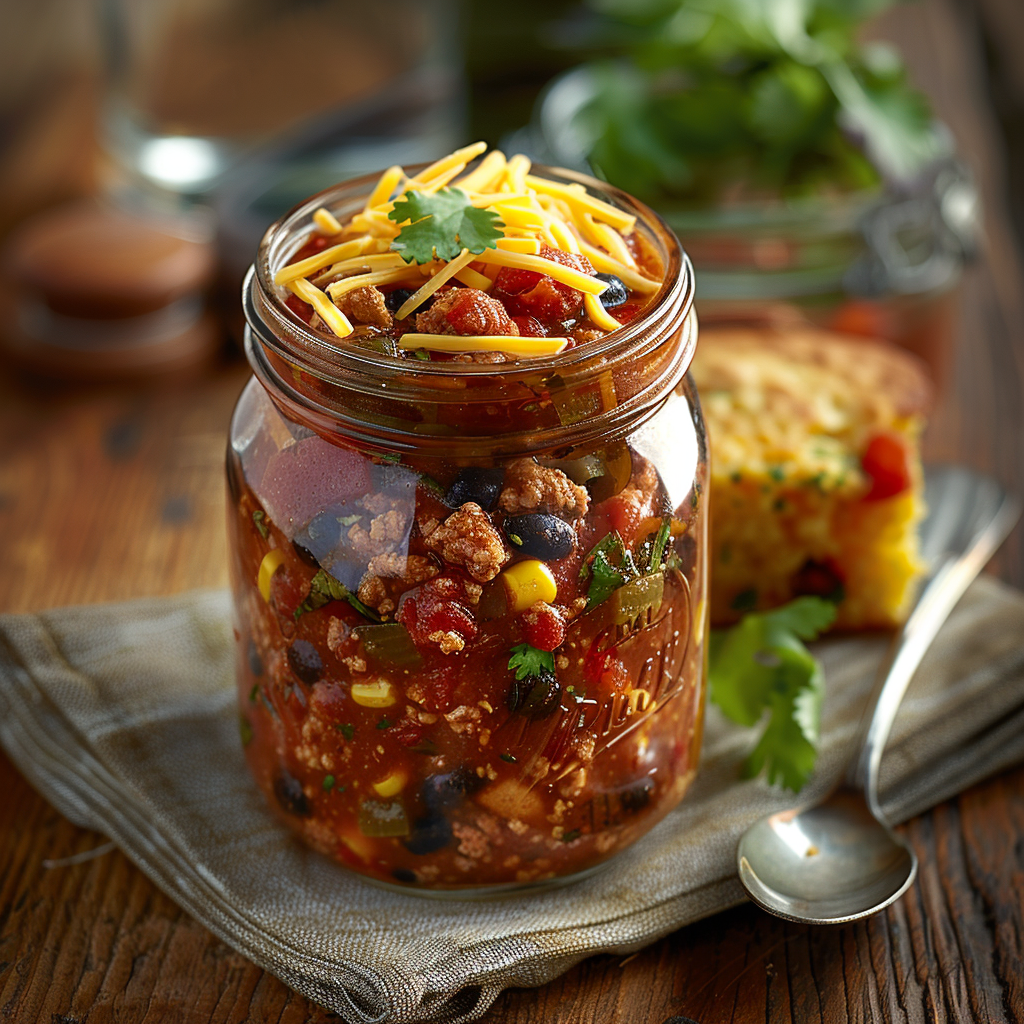
Make-Ahead Turkey Chili Lunch Jars: Effortless Meal Prep Magic

Make-Ahead Turkey Chili Lunch Jars

Why This Turkey Chili Recipe Is a Game Changer

Picture this: it’s Monday morning, and you’re scrambling to pack lunches for the week. The fridge is a mess, your time is limited, and you’re already mentally exhausted. But wait—what if I told you there’s a way to prep delicious, hearty lunches in advance? That’s where my Make-Ahead Turkey Chili Lunch Jars come in. These jars are like little hugs in a container, packed with flavor and nutrients. I first made these jars when my kids started complaining about boring school lunches. Let me tell you, they were a hit—and now they’re a staple in our home.

The Story Behind Turkey Chili

Turkey chili has been a go-to dish in American kitchens for decades. It’s lighter than beef chili but still packed with protein and bold flavors. Back in the day, chili was a cowboy classic, cooked over open fires in the Wild West. Today, we’ve modernized it into something that fits perfectly into our busy lives. When I started experimenting with layering chili into jars, I wanted something that would stay fresh and be easy to grab on the go. After a few tries, I nailed the perfect balance of ingredients that hold up well and taste amazing reheated.

Why You’ll Love This Recipe

This recipe checks all the boxes: it’s healthy, flavorful, and super convenient. The Make-Ahead Turkey Chili Lunch Jars are loaded with lean ground turkey, beans, veggies, and spices that make every bite satisfying. Plus, assembling them is a breeze. You can prep a whole week’s worth of lunches in under an hour. Whether you’re feeding a family or just yourself, these jars are a lifesaver.

Perfect Occasions to Make This Recipe

These jars shine during busy weekdays, road trips, or even outdoor picnics. They’re also great for potlucks or as a thoughtful gift for a friend who needs a quick meal. Last winter, I brought these jars to a neighborhood gathering, and everyone raved about how tasty and practical they were. Trust me, once you try them, you’ll find excuses to make them again and again.

Ingredients

  1. 1 lb lean ground turkey
  2. 1 tbsp olive oil
  3. 1 medium onion, diced
  4. 2 cloves garlic, minced
  5. 1 bell pepper, chopped
  6. 1 can (15 oz) kidney beans, drained and rinsed
  7. 1 can (15 oz) black beans, drained and rinsed
  8. 1 can (15 oz) diced tomatoes
  9. 2 tbsp chili powder
  10. 1 tsp cumin
  11. Salt and pepper to taste
  12. 4 cups cooked brown rice
  13. 1 cup shredded cheddar cheese (optional)
  14. 1 avocado, sliced (optional)

Make-Ahead Turkey Chili Lunch Jars

Substitution Options

  • Swap ground turkey for chicken or beef if you prefer.
  • Use quinoa instead of brown rice for extra protein.
  • For a vegan version, skip the cheese and use plant-based protein.
  • Replace bell peppers with zucchini or carrots for variety.

Step 1: Sauté the Aromatics

Heat olive oil in a large skillet over medium heat. Add the diced onion and cook until translucent, about 3-4 minutes. Toss in the garlic and bell pepper, stirring frequently to avoid burning. The kitchen will start smelling amazing—like a warm hug from your favorite sweater. Pro tip: Don’t rush this step. Letting the onions caramelize adds depth to the flavor.

Step 2: Cook the Turkey

Add the ground turkey to the skillet, breaking it apart with a wooden spoon. Cook until browned and no pink remains. Season with chili powder, cumin, salt, and pepper. The spices will release their aroma, filling your kitchen with a cozy, earthy scent. This is where the magic happens!

Step 3: Combine Everything

Stir in the beans, diced tomatoes, and any additional veggies you like. Let the mixture simmer for 10-15 minutes to allow the flavors to meld. The chili should thicken slightly, turning into a rich, hearty stew. Chef’s tip: If it’s too thick, add a splash of chicken broth to loosen it up.

Step 4: Assemble the Jars

Layer the cooked brown rice at the bottom of each jar, followed by the turkey chili. Top with shredded cheese or avocado slices if desired. Seal the jars tightly and store them in the fridge. Watching the colorful layers come together is oddly satisfying—it’s like edible art!

Timing

Prep Time: 20 minutes | Cooking Time: 25 minutes | Total Time: 45 minutes

Chef’s Secret

To keep the rice from getting soggy, place a small piece of parchment paper between the rice and chili layers. This trick ensures everything stays fresh and texturally perfect.

Extra Info

Did you know chili was once considered a cure-all remedy in the 19th century? People believed it could cure everything from colds to hangovers. While I can’t promise that, I can guarantee these jars will cure your lunchtime blues.

Necessary Equipment

  • Large skillet
  • Wooden spoon
  • Mason jars or reusable containers
  • Parchment paper

Storage

Store your Make-Ahead Turkey Chili Lunch Jars in the fridge for up to 4 days. Make sure the jars are sealed tightly to prevent spills and maintain freshness. For longer storage, freeze the jars without the cheese or avocado toppings. Thaw overnight in the fridge before reheating.

If you’re freezing, leave some space at the top of the jar to allow for expansion. This prevents the glass from cracking. Always label your jars with the date so you know how long they’ve been stored.

When reheating, microwave in 30-second intervals, stirring occasionally, until heated through. Add fresh toppings like cheese or avocado after reheating for the best texture.

Tips and Advice

  • Use a mix of beans for added texture and flavor variety.
  • Double the recipe if you want leftovers for dinner.
  • Taste as you go and adjust seasoning to your preference.

Make-Ahead Turkey Chili Lunch Jars

Presentation Tips

  • Garnish with fresh cilantro or green onions for a pop of color.
  • Serve with a side of tortilla chips for crunch.
  • Use clear jars to showcase the beautiful layers.

Healthier Alternative Recipes

Here are six variations to suit different dietary needs:

  1. Low-Carb Version: Skip the rice and use cauliflower rice instead.
  2. Vegan Option: Replace turkey with lentils and use nutritional yeast instead of cheese.
  3. Spicy Kick: Add diced jalapeños or a dash of hot sauce for heat lovers.
  4. Keto-Friendly: Use riced cauliflower and top with avocado slices.
  5. Gluten-Free: Ensure all canned goods are certified gluten-free.
  6. Paleo Twist: Use sweet potatoes instead of rice and omit the beans.

Common Mistakes to Avoid

Mistake 1: Overfilling the Jars

Overfilling can lead to spills and uneven heating. Leave at least an inch of space at the top of each jar. This also helps if you plan to freeze them.

Mistake 2: Skipping the Spice Bloom

Adding spices directly to raw meat can mute their flavor. Instead, toast them briefly in the skillet before adding other ingredients for maximum impact.

Mistake 3: Using Old Spices

Spices lose potency over time. Check the expiration dates and replace old ones for the best results.

FAQ

Can I Freeze These Jars?

Absolutely! Just leave out the cheese and avocado toppings before freezing. Thaw overnight in the fridge and reheat as usual.

How Long Do They Last in the Fridge?

Your jars will stay fresh for up to 4 days when stored properly in the fridge.

Can I Use Different Beans?

Yes! Pinto, white beans, or chickpeas work beautifully in this recipe.

What Can I Serve with This Dish?

Tortilla chips, cornbread, or a simple green salad pair wonderfully with these jars.

Is This Recipe Kid-Friendly?

Definitely! My kids love these jars, especially when topped with melted cheese.

Can I Make This Spicier?

Of course! Add diced jalapeños or cayenne pepper to crank up the heat.

Do I Have to Use Mason Jars?

No, any reusable container works. Just ensure it’s airtight for freshness.

What Rice Works Best?

Brown rice is ideal, but white rice or quinoa are great alternatives.

Can I Prep These Jars for a Crowd?

Yes! Double or triple the recipe and assemble in larger containers for group settings.

Are These Jars Good for Meal Prep?

They’re perfect for meal prep! Make a batch on Sunday and enjoy hassle-free lunches all week.

Final Thoughts

There you have it—my ultimate guide to Make-Ahead Turkey Chili Lunch Jars. Whether you’re a busy parent, a student, or just someone looking for a tasty and convenient meal, these jars are here to save the day. So grab your ingredients, fire up the stove, and get ready to fall in love with this simple yet satisfying recipe. Happy cooking!
Make-Ahead Turkey Chili Lunch Jars

Make-Ahead Turkey Chili Lunch Jars

Make-Ahead Turkey Chili Lunch Jars: Effortless Meal Prep Magic

Why This Turkey Chili Recipe Is a Game Changer

Picture this: it's Monday morning, and you're scrambling to pack lunches for the week. The fridge is a mess, your time is limited, and you're already mentally exhausted. But wait—what if I told you there’s a way to prep delicious, hearty lunches in advance? That’s where my Make-Ahead Turkey Chili Lunch Jars come in. These jars are like little hugs in a container, packed with flavor and nutrients. I first made these jars when my kids started complaining about boring school lunches. Let me tell you, they were a hit—and now they’re a staple in our home.

The Story Behind Turkey Chili

Turkey chili has been a go-to dish in American kitchens for decades. It’s lighter than beef chili but still packed with protein and bold flavors. Back in the day, chili was a cowboy classic, cooked over open fires in the Wild West. Today, we’ve modernized it into something that fits perfectly into our busy lives. When I started experimenting with layering chili into jars, I wanted something that would stay fresh and be easy to grab on the go. After a few tries, I nailed the perfect balance of ingredients that hold up well and taste amazing reheated.

Why You’ll Love This Recipe

This recipe checks all the boxes: it’s healthy, flavorful, and super convenient. The Make-Ahead Turkey Chili Lunch Jars are loaded with lean ground turkey, beans, veggies, and spices that make every bite satisfying. Plus, assembling them is a breeze. You can prep a whole week’s worth of lunches in under an hour. Whether you’re feeding a family or just yourself, these jars are a lifesaver.

Perfect Occasions to Make This Recipe

These jars shine during busy weekdays, road trips, or even outdoor picnics. They’re also great for potlucks or as a thoughtful gift for a friend who needs a quick meal. Last winter, I brought these jars to a neighborhood gathering, and everyone raved about how tasty and practical they were. Trust me, once you try them, you’ll find excuses to make them again and again.

Ingredients

  1. 1 lb lean ground turkey
  2. 1 tbsp olive oil
  3. 1 medium onion, diced
  4. 2 cloves garlic, minced
  5. 1 bell pepper, chopped
  6. 1 can (15 oz) kidney beans, drained and rinsed
  7. 1 can (15 oz) black beans, drained and rinsed
  8. 1 can (15 oz) diced tomatoes
  9. 2 tbsp chili powder
  10. 1 tsp cumin
  11. Salt and pepper to taste
  12. 4 cups cooked brown rice
  13. 1 cup shredded cheddar cheese (optional)
  14. 1 avocado, sliced (optional)
Make-Ahead Turkey Chili Lunch Jars

Substitution Options

  • Swap ground turkey for chicken or beef if you prefer.
  • Use quinoa instead of brown rice for extra protein.
  • For a vegan version, skip the cheese and use plant-based protein.
  • Replace bell peppers with zucchini or carrots for variety.

Step 1: Sauté the Aromatics

Heat olive oil in a large skillet over medium heat. Add the diced onion and cook until translucent, about 3-4 minutes. Toss in the garlic and bell pepper, stirring frequently to avoid burning. The kitchen will start smelling amazing—like a warm hug from your favorite sweater. Pro tip: Don’t rush this step. Letting the onions caramelize adds depth to the flavor.

Step 2: Cook the Turkey

Add the ground turkey to the skillet, breaking it apart with a wooden spoon. Cook until browned and no pink remains. Season with chili powder, cumin, salt, and pepper. The spices will release their aroma, filling your kitchen with a cozy, earthy scent. This is where the magic happens!

Step 3: Combine Everything

Stir in the beans, diced tomatoes, and any additional veggies you like. Let the mixture simmer for 10-15 minutes to allow the flavors to meld. The chili should thicken slightly, turning into a rich, hearty stew. Chef’s tip: If it’s too thick, add a splash of chicken broth to loosen it up.

Step 4: Assemble the Jars

Layer the cooked brown rice at the bottom of each jar, followed by the turkey chili. Top with shredded cheese or avocado slices if desired. Seal the jars tightly and store them in the fridge. Watching the colorful layers come together is oddly satisfying—it’s like edible art!

Timing

Prep Time: 20 minutes | Cooking Time: 25 minutes | Total Time: 45 minutes

Chef’s Secret

To keep the rice from getting soggy, place a small piece of parchment paper between the rice and chili layers. This trick ensures everything stays fresh and texturally perfect.

Extra Info

Did you know chili was once considered a cure-all remedy in the 19th century? People believed it could cure everything from colds to hangovers. While I can’t promise that, I can guarantee these jars will cure your lunchtime blues.

Necessary Equipment

  • Large skillet
  • Wooden spoon
  • Mason jars or reusable containers
  • Parchment paper

Storage

Store your Make-Ahead Turkey Chili Lunch Jars in the fridge for up to 4 days. Make sure the jars are sealed tightly to prevent spills and maintain freshness. For longer storage, freeze the jars without the cheese or avocado toppings. Thaw overnight in the fridge before reheating.
If you’re freezing, leave some space at the top of the jar to allow for expansion. This prevents the glass from cracking. Always label your jars with the date so you know how long they’ve been stored.
When reheating, microwave in 30-second intervals, stirring occasionally, until heated through. Add fresh toppings like cheese or avocado after reheating for the best texture.

Tips and Advice

  • Use a mix of beans for added texture and flavor variety.
  • Double the recipe if you want leftovers for dinner.
  • Taste as you go and adjust seasoning to your preference.
Make-Ahead Turkey Chili Lunch Jars

Presentation Tips

  • Garnish with fresh cilantro or green onions for a pop of color.
  • Serve with a side of tortilla chips for crunch.
  • Use clear jars to showcase the beautiful layers.

Healthier Alternative Recipes

Here are six variations to suit different dietary needs:
  1. Low-Carb Version: Skip the rice and use cauliflower rice instead.
  2. Vegan Option: Replace turkey with lentils and use nutritional yeast instead of cheese.
  3. Spicy Kick: Add diced jalapeños or a dash of hot sauce for heat lovers.
  4. Keto-Friendly: Use riced cauliflower and top with avocado slices.
  5. Gluten-Free: Ensure all canned goods are certified gluten-free.
  6. Paleo Twist: Use sweet potatoes instead of rice and omit the beans.

Common Mistakes to Avoid

Mistake 1: Overfilling the Jars

Overfilling can lead to spills and uneven heating. Leave at least an inch of space at the top of each jar. This also helps if you plan to freeze them.

Mistake 2: Skipping the Spice Bloom

Adding spices directly to raw meat can mute their flavor. Instead, toast them briefly in the skillet before adding other ingredients for maximum impact.

Mistake 3: Using Old Spices

Spices lose potency over time. Check the expiration dates and replace old ones for the best results.

FAQ

Can I Freeze These Jars?

Absolutely! Just leave out the cheese and avocado toppings before freezing. Thaw overnight in the fridge and reheat as usual.

How Long Do They Last in the Fridge?

Your jars will stay fresh for up to 4 days when stored properly in the fridge.

Can I Use Different Beans?

Yes! Pinto, white beans, or chickpeas work beautifully in this recipe.

What Can I Serve with This Dish?

Tortilla chips, cornbread, or a simple green salad pair wonderfully with these jars.

Is This Recipe Kid-Friendly?

Definitely! My kids love these jars, especially when topped with melted cheese.

Can I Make This Spicier?

Of course! Add diced jalapeños or cayenne pepper to crank up the heat.

Do I Have to Use Mason Jars?

No, any reusable container works. Just ensure it’s airtight for freshness.

What Rice Works Best?

Brown rice is ideal, but white rice or quinoa are great alternatives.

Can I Prep These Jars for a Crowd?

Yes! Double or triple the recipe and assemble in larger containers for group settings.

Are These Jars Good for Meal Prep?

They’re perfect for meal prep! Make a batch on Sunday and enjoy hassle-free lunches all week.

Final Thoughts

There you have it—my ultimate guide to Make-Ahead Turkey Chili Lunch Jars. Whether you’re a busy parent, a student, or just someone looking for a tasty and convenient meal, these jars are here to save the day. So grab your ingredients, fire up the stove, and get ready to fall in love with this simple yet satisfying recipe. Happy cooking!
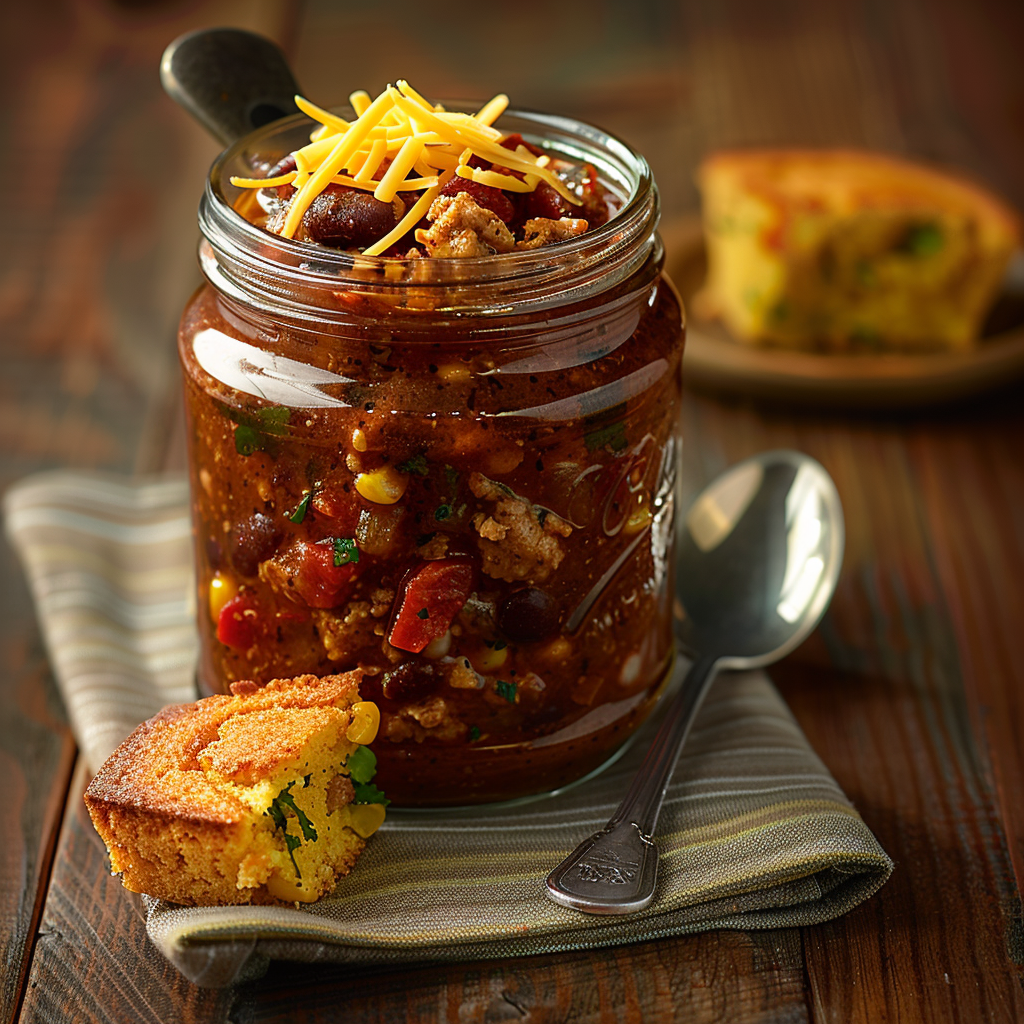
Prep Time 20 minutes
Cook Time 25 minutes
Total Time 45 minutes
Servings: 4 people
Calories: 350

Ingredients
  

  • 1 lb lean ground turkey
  • 1 tbsp olive oil
  • 1 medium onion, diced
  • 2 cloves garlic, minced
  • 1 each bell pepper, chopped
  • 1 can (15 oz) kidney beans, drained and rinsed
  • 1 can (15 oz) black beans, drained and rinsed
  • 1 can (15 oz) diced tomatoes
  • 2 tbsp chili powder
  • 1 tsp cumin
  • to taste salt and pepper
  • 4 cups cooked brown rice
  • 1 cup (optional) shredded cheddar cheese
  • 1 each (optional) avocado, sliced

Equipment

  • Large skillet
  • Wooden spoon
  • Mason jars or reusable containers
  • Parchment paper

Method
 

  1. Heat olive oil in a large skillet over medium heat. Add the diced onion and cook until translucent, about 3-4 minutes.
  2. Toss in the garlic and bell pepper, stirring frequently.
  3. Add the ground turkey to the skillet, breaking it apart with a wooden spoon, and cook until browned.
  4. Season with chili powder, cumin, salt, and pepper.
  5. Stir in the beans, diced tomatoes, and any additional veggies. Let the mixture simmer for 10-15 minutes.
  6. Layer the cooked brown rice at the bottom of each jar, followed by the turkey chili. Top with shredded cheese or avocado slices if desired.
  7. Seal the jars tightly and store them in the fridge.

Nutrition

Calories: 350kcalCarbohydrates: 40gProtein: 30gFat: 12gSaturated Fat: 4gCholesterol: 80mgSodium: 500mgPotassium: 600mgFiber: 10gSugar: 5gVitamin A: 15IUVitamin C: 25mgCalcium: 15mgIron: 20mg

Notes

Cette recette est très appréciée pour sa facilité et son goût irrésistible. Un dessert qui fera admirer vos talents de pâtissier !
Tried this recipe?Let us know how it was!
Contents hide

Leave a Comment

Recipe Rating