Granola Bars Homemade with Nuts & Honey: Irresistibly Crunchy Treats

Granola Bars Homemade with Nuts & Honey

Why Granola Bars Homemade with Nuts & Honey Are a Game-Changer

Let me take you back to last summer. It was one of those mornings when my kids were late for school, and I was running on empty. I grabbed a store-bought granola bar from the pantry, but it tasted like cardboard. That’s when I decided to whip up a batch of Granola Bars Homemade with Nuts & Honey. They turned out so good that my kids started asking for them every morning. And guess what? These bars are not just delicious; they’re also easy to make and packed with wholesome goodness.

The Story Behind Granola Bars

Granola bars have been around for decades, but their homemade version is where the magic happens. The original granola was invented in the 19th century by Dr. James Caleb Jackson, who wanted a healthy breakfast option for his patients. Fast forward to today, and we’ve got endless variations. My favorite? The ones made at home with love, nuts, and a drizzle of honey. Unlike store-bought bars loaded with preservatives, these homemade gems let you control what goes in—and trust me, your taste buds will thank you.

Why You’ll Love This Recipe

This recipe is special because it’s simple, flexible, and oh-so-satisfying. Whether you’re a busy parent, a fitness enthusiast, or someone who just loves snacking, these Granola Bars Homemade with Nuts & Honey are perfect for you. The combination of crunchy nuts, chewy oats, and sweet honey creates a flavor explosion that’s hard to resist. Plus, you can customize them however you like—add chocolate chips, dried fruit, or even a sprinkle of cinnamon.

Perfect Occasions to Make These Bars

These bars are versatile enough for any occasion. Need a quick breakfast on-the-go? Check. Looking for a healthy snack to pack in your kid’s lunchbox? Done. Hosting a brunch or potluck? These bars will steal the show. They’re also great for hiking trips, road trips, or lazy Sunday afternoons when you want something sweet but not too indulgent.

Ingredients

  1. 2 cups old-fashioned rolled oats
  2. 1 cup mixed nuts (almonds, walnuts, pecans)
  3. 1/2 cup honey
  4. 1/4 cup peanut butter (or almond butter)
  5. 1/4 cup brown sugar
  6. 1/4 cup unsweetened shredded coconut
  7. 1 teaspoon vanilla extract
  8. 1/2 teaspoon salt
  9. 1/2 cup dried cranberries or raisins

Granola Bars Homemade with Nuts & Honey

Substitution Options

  • Swap peanut butter with sunflower seed butter for a nut-free version.
  • Use maple syrup instead of honey if you prefer a vegan option.
  • Replace dried cranberries with chopped dates or apricots.
  • Omit coconut if you’re not a fan and add more oats instead.

Preparation Section

Step 1: Toast the Oats and Nuts

Start by toasting your oats and nuts in a dry skillet over medium heat. Keep stirring until they turn golden brown and release a warm, nutty aroma. This step is crucial because it enhances the flavor of the bars. Pro tip: Don’t walk away while toasting—these babies can go from golden to burnt in seconds!

Step 2: Mix the Wet Ingredients

In a small saucepan, combine honey, peanut butter, and brown sugar. Heat gently until the mixture becomes smooth and bubbly. Stir in the vanilla extract and salt. The smell of melting honey and peanut butter will make your kitchen feel like heaven. Be careful not to overheat, as honey can lose its sweetness if cooked too long.

Step 3: Combine Everything

Pour the warm honey mixture over the toasted oats and nuts. Add shredded coconut and dried cranberries, then mix everything until well-coated. The sticky mixture might seem messy, but that’s what holds the bars together. Chef’s tip: Use damp hands to press the mixture into the pan—it prevents sticking and makes shaping easier.

Step 4: Chill and Cut

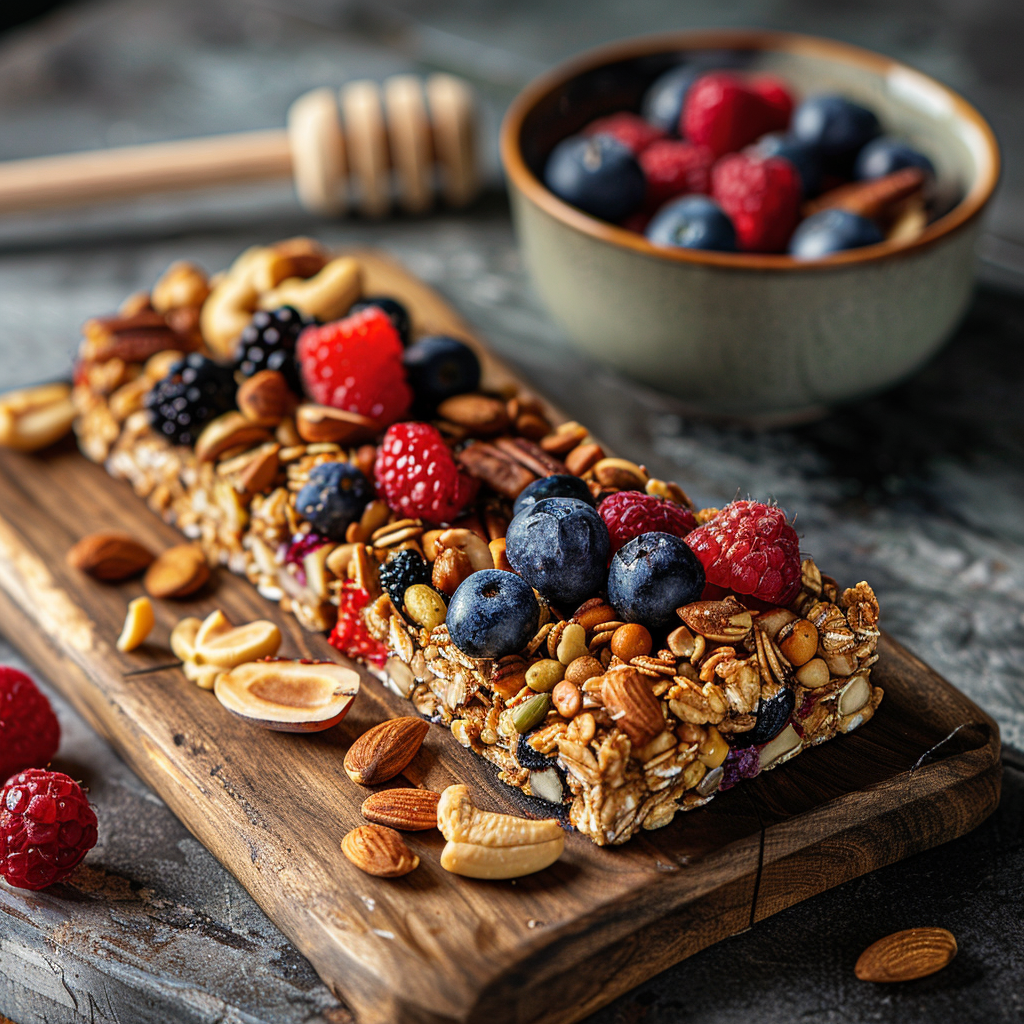
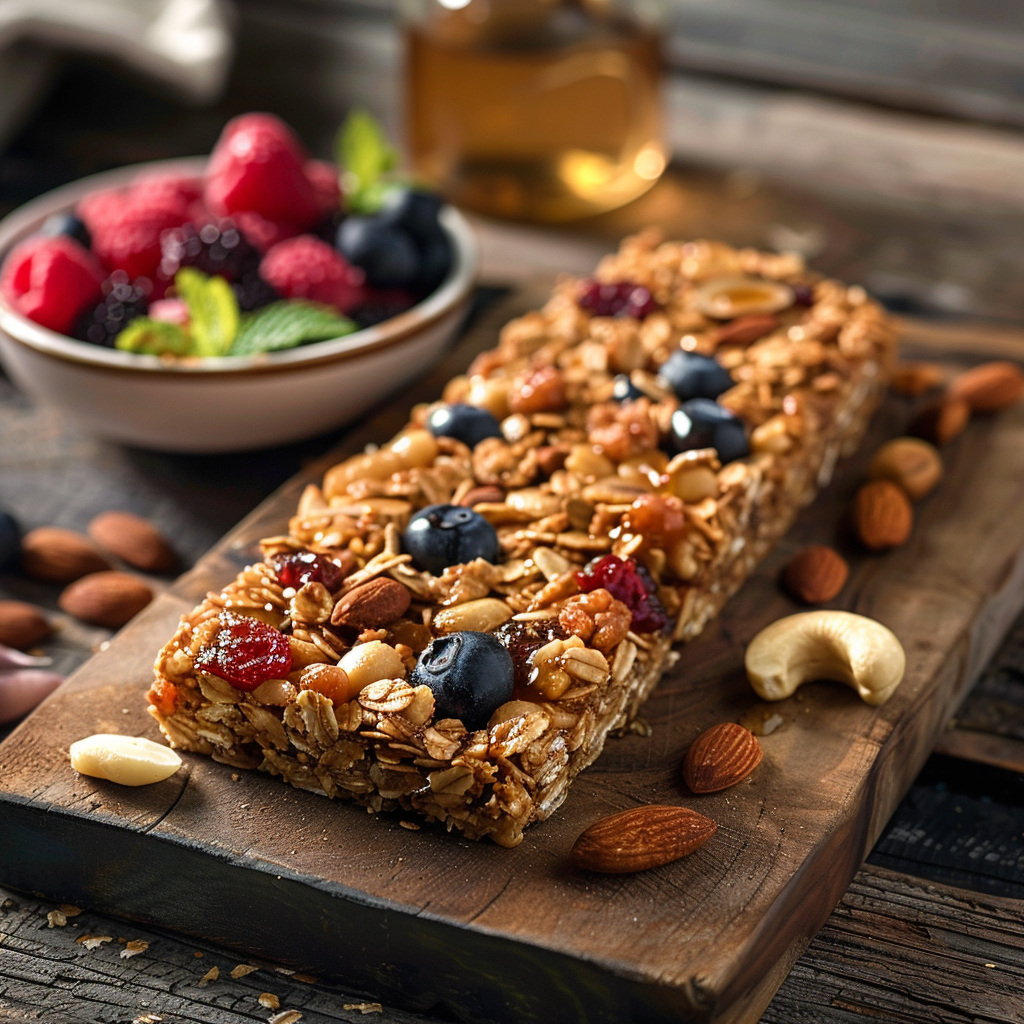
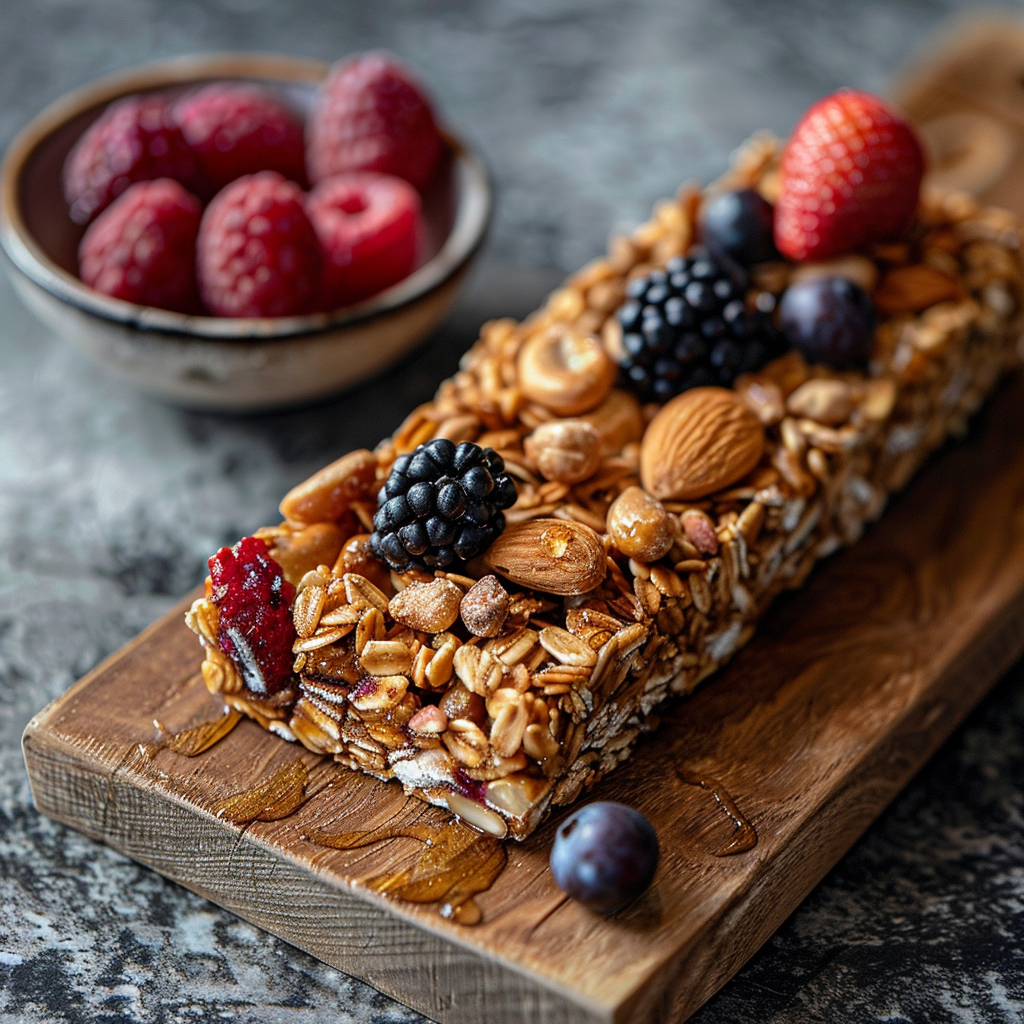
Press the mixture firmly into a lined baking dish and refrigerate for at least 2 hours. Once chilled, cut into bars or squares. Voilà! Your Granola Bars Homemade with Nuts & Honey are ready to enjoy. They look rustic yet inviting, with bits of nuts peeking through the honey glaze.

Timing

  • Prep time: 15 minutes
  • Cooking time: 10 minutes
  • Resting time: 2 hours
  • Total time: 2 hours and 25 minutes

Chef’s Secret

For an extra crunchy texture, toast the oats and nuts a little longer than usual. Just be sure to watch them closely to avoid burning. A deeper toast brings out richer flavors, making your bars stand out.

Extra Info

Did you know that honey has been used as a natural sweetener for thousands of years? Ancient Egyptians even used it in their recipes. Today, it’s still a favorite for its unique flavor and health benefits, like antioxidants and antibacterial properties.

Necessary Equipment

  • Dry skillet
  • Saucepan
  • Baking dish
  • Parchment paper
  • Mixing bowls

Storage

To keep your Granola Bars Homemade with Nuts & Honey fresh, store them in an airtight container. They’ll stay good at room temperature for up to 5 days. If you live in a humid area, pop them in the fridge to prevent sogginess. For longer storage, freeze the bars individually wrapped in parchment paper. They’ll last up to 3 months in the freezer.

When freezing, label the container with the date so you don’t forget how long they’ve been stored. Thaw frozen bars overnight in the fridge before enjoying.

Avoid stacking the bars without parchment paper between layers, as they can stick together. Proper storage ensures you always have a tasty treat on hand.

Tips and Advice

Here are some tips to elevate your granola bars:
– Use fresh, high-quality ingredients for the best flavor.
– Experiment with different nut combinations to find your favorite.
– Press the mixture firmly into the pan to ensure the bars hold their shape.
– Let the bars cool completely before cutting to avoid crumbling.

Granola Bars Homemade with Nuts & Honey

Presentation Tips

  • Wrap individual bars in colorful parchment paper for a cute gift idea.
  • Serve them on a wooden tray with fresh fruit for a rustic touch.
  • Drizzle melted dark chocolate over the top for added decadence.

Healthier Alternative Recipes

Looking for ways to tweak this recipe? Here are six healthier alternatives:

  1. Low-Sugar Version: Reduce the honey and add mashed bananas for natural sweetness.
  2. Vegan Option: Replace honey with maple syrup and use coconut oil instead of butter.
  3. Gluten-Free Bars: Ensure your oats are certified gluten-free.
  4. Protein-Packed Bars: Add a scoop of protein powder to the mix.
  5. Seed Lover’s Delight: Swap nuts for seeds like pumpkin or sunflower seeds.
  6. Fruit-Filled Bars: Increase the amount of dried fruit and skip the chocolate chips.

Common Mistakes to Avoid

Mistake 1: Skipping the Toasting Step

Some people skip toasting the oats and nuts to save time, but this step is essential for depth of flavor. Without it, your bars may taste bland. Pro tip: Set a timer to avoid burning.

Mistake 2: Overmixing the Wet Ingredients

Overheating the honey and peanut butter mixture can cause separation. Heat just until combined, and stir gently to maintain consistency.

Mistake 3: Not Pressing Firmly Enough

If the mixture isn’t pressed firmly into the pan, the bars will crumble when cut. Use the back of a spoon or your hands to compact it tightly.

FAQ

Can I use quick oats instead of rolled oats?

Quick oats work, but they’ll make the bars softer and less chewy. Rolled oats provide a better texture for Granola Bars Homemade with Nuts & Honey.

How do I make these bars gluten-free?

Simply use certified gluten-free oats. Most other ingredients are naturally gluten-free.

Can I freeze these bars?

Yes! Wrap them individually in parchment paper and freeze for up to 3 months. Thaw in the fridge before serving.

What’s the best way to cut the bars?

Let the mixture cool completely before cutting. Use a sharp knife and wipe it clean between cuts for neat edges.

Can I add chocolate chips?

Absolutely! Fold in mini chocolate chips after mixing the wet and dry ingredients.

Do I need to refrigerate these bars?

Refrigeration helps them set and stay fresh longer, especially in warm weather.

Are these bars kid-friendly?

Yes! Kids love the sweet and crunchy combo. Plus, you can sneak in dried fruits or seeds for added nutrition.

What if I don’t have peanut butter?

No problem! Almond butter, cashew butter, or sunflower seed butter work great too.

How long do these bars last?

Stored in an airtight container, they’ll last up to 5 days at room temperature or 2 weeks in the fridge.

Can I make these bars sweeter?

Add a bit more honey or toss in some chopped dates for extra sweetness.

Final Thoughts

There’s nothing quite like biting into a Granola Bar Homemade with Nuts & Honey that you’ve made yourself. It’s satisfying, delicious, and full of wholesome ingredients. Whether you’re making them for breakfast, snacks, or gifts, these bars are sure to become a family favorite. So grab your apron, gather your ingredients, and start baking—you won’t regret it!

Granola Bars Homemade with Nuts & Honey

Granola Bars Homemade with Nuts & Honey

Granola Bars Homemade with Nuts & Honey: Irresistibly Crunchy Treats

Why Granola Bars Homemade with Nuts & Honey Are a Game-Changer

Let me take you back to last summer. It was one of those mornings when my kids were late for school, and I was running on empty. I grabbed a store-bought granola bar from the pantry, but it tasted like cardboard. That’s when I decided to whip up a batch of Granola Bars Homemade with Nuts & Honey. They turned out so good that my kids started asking for them every morning. And guess what? These bars are not just delicious; they’re also easy to make and packed with wholesome goodness.

The Story Behind Granola Bars

Granola bars have been around for decades, but their homemade version is where the magic happens. The original granola was invented in the 19th century by Dr. James Caleb Jackson, who wanted a healthy breakfast option for his patients. Fast forward to today, and we’ve got endless variations. My favorite? The ones made at home with love, nuts, and a drizzle of honey. Unlike store-bought bars loaded with preservatives, these homemade gems let you control what goes in—and trust me, your taste buds will thank you.

Why You’ll Love This Recipe

This recipe is special because it’s simple, flexible, and oh-so-satisfying. Whether you’re a busy parent, a fitness enthusiast, or someone who just loves snacking, these Granola Bars Homemade with Nuts & Honey are perfect for you. The combination of crunchy nuts, chewy oats, and sweet honey creates a flavor explosion that’s hard to resist. Plus, you can customize them however you like—add chocolate chips, dried fruit, or even a sprinkle of cinnamon.

Perfect Occasions to Make These Bars

These bars are versatile enough for any occasion. Need a quick breakfast on-the-go? Check. Looking for a healthy snack to pack in your kid’s lunchbox? Done. Hosting a brunch or potluck? These bars will steal the show. They’re also great for hiking trips, road trips, or lazy Sunday afternoons when you want something sweet but not too indulgent.

Ingredients

  1. 2 cups old-fashioned rolled oats
  2. 1 cup mixed nuts (almonds, walnuts, pecans)
  3. 1/2 cup honey
  4. 1/4 cup peanut butter (or almond butter)
  5. 1/4 cup brown sugar
  6. 1/4 cup unsweetened shredded coconut
  7. 1 teaspoon vanilla extract
  8. 1/2 teaspoon salt
  9. 1/2 cup dried cranberries or raisins
Granola Bars Homemade with Nuts & Honey

Substitution Options

  • Swap peanut butter with sunflower seed butter for a nut-free version.
  • Use maple syrup instead of honey if you prefer a vegan option.
  • Replace dried cranberries with chopped dates or apricots.
  • Omit coconut if you’re not a fan and add more oats instead.

Preparation Section

Step 1: Toast the Oats and Nuts

Start by toasting your oats and nuts in a dry skillet over medium heat. Keep stirring until they turn golden brown and release a warm, nutty aroma. This step is crucial because it enhances the flavor of the bars. Pro tip: Don’t walk away while toasting—these babies can go from golden to burnt in seconds!

Step 2: Mix the Wet Ingredients

In a small saucepan, combine honey, peanut butter, and brown sugar. Heat gently until the mixture becomes smooth and bubbly. Stir in the vanilla extract and salt. The smell of melting honey and peanut butter will make your kitchen feel like heaven. Be careful not to overheat, as honey can lose its sweetness if cooked too long.

Step 3: Combine Everything

Pour the warm honey mixture over the toasted oats and nuts. Add shredded coconut and dried cranberries, then mix everything until well-coated. The sticky mixture might seem messy, but that’s what holds the bars together. Chef’s tip: Use damp hands to press the mixture into the pan—it prevents sticking and makes shaping easier.

Step 4: Chill and Cut

Press the mixture firmly into a lined baking dish and refrigerate for at least 2 hours. Once chilled, cut into bars or squares. Voilà! Your Granola Bars Homemade with Nuts & Honey are ready to enjoy. They look rustic yet inviting, with bits of nuts peeking through the honey glaze.

Timing

  • Prep time: 15 minutes
  • Cooking time: 10 minutes
  • Resting time: 2 hours
  • Total time: 2 hours and 25 minutes

Chef’s Secret

For an extra crunchy texture, toast the oats and nuts a little longer than usual. Just be sure to watch them closely to avoid burning. A deeper toast brings out richer flavors, making your bars stand out.

Extra Info

Did you know that honey has been used as a natural sweetener for thousands of years? Ancient Egyptians even used it in their recipes. Today, it’s still a favorite for its unique flavor and health benefits, like antioxidants and antibacterial properties.

Necessary Equipment

  • Dry skillet
  • Saucepan
  • Baking dish
  • Parchment paper
  • Mixing bowls

Storage

To keep your Granola Bars Homemade with Nuts & Honey fresh, store them in an airtight container. They’ll stay good at room temperature for up to 5 days. If you live in a humid area, pop them in the fridge to prevent sogginess. For longer storage, freeze the bars individually wrapped in parchment paper. They’ll last up to 3 months in the freezer.
When freezing, label the container with the date so you don’t forget how long they’ve been stored. Thaw frozen bars overnight in the fridge before enjoying.
Avoid stacking the bars without parchment paper between layers, as they can stick together. Proper storage ensures you always have a tasty treat on hand.

Tips and Advice

Here are some tips to elevate your granola bars: - Use fresh, high-quality ingredients for the best flavor. - Experiment with different nut combinations to find your favorite. - Press the mixture firmly into the pan to ensure the bars hold their shape. - Let the bars cool completely before cutting to avoid crumbling.
Granola Bars Homemade with Nuts & Honey

Presentation Tips

  • Wrap individual bars in colorful parchment paper for a cute gift idea.
  • Serve them on a wooden tray with fresh fruit for a rustic touch.
  • Drizzle melted dark chocolate over the top for added decadence.

Healthier Alternative Recipes

Looking for ways to tweak this recipe? Here are six healthier alternatives:
  1. Low-Sugar Version: Reduce the honey and add mashed bananas for natural sweetness.
  2. Vegan Option: Replace honey with maple syrup and use coconut oil instead of butter.
  3. Gluten-Free Bars: Ensure your oats are certified gluten-free.
  4. Protein-Packed Bars: Add a scoop of protein powder to the mix.
  5. Seed Lover’s Delight: Swap nuts for seeds like pumpkin or sunflower seeds.
  6. Fruit-Filled Bars: Increase the amount of dried fruit and skip the chocolate chips.

Common Mistakes to Avoid

Mistake 1: Skipping the Toasting Step

Some people skip toasting the oats and nuts to save time, but this step is essential for depth of flavor. Without it, your bars may taste bland. Pro tip: Set a timer to avoid burning.

Mistake 2: Overmixing the Wet Ingredients

Overheating the honey and peanut butter mixture can cause separation. Heat just until combined, and stir gently to maintain consistency.

Mistake 3: Not Pressing Firmly Enough

If the mixture isn’t pressed firmly into the pan, the bars will crumble when cut. Use the back of a spoon or your hands to compact it tightly.

FAQ

Can I use quick oats instead of rolled oats?

Quick oats work, but they’ll make the bars softer and less chewy. Rolled oats provide a better texture for Granola Bars Homemade with Nuts & Honey.

How do I make these bars gluten-free?

Simply use certified gluten-free oats. Most other ingredients are naturally gluten-free.

Can I freeze these bars?

Yes! Wrap them individually in parchment paper and freeze for up to 3 months. Thaw in the fridge before serving.

What’s the best way to cut the bars?

Let the mixture cool completely before cutting. Use a sharp knife and wipe it clean between cuts for neat edges.

Can I add chocolate chips?

Absolutely! Fold in mini chocolate chips after mixing the wet and dry ingredients.

Do I need to refrigerate these bars?

Refrigeration helps them set and stay fresh longer, especially in warm weather.

Are these bars kid-friendly?

Yes! Kids love the sweet and crunchy combo. Plus, you can sneak in dried fruits or seeds for added nutrition.

What if I don’t have peanut butter?

No problem! Almond butter, cashew butter, or sunflower seed butter work great too.

How long do these bars last?

Stored in an airtight container, they’ll last up to 5 days at room temperature or 2 weeks in the fridge.

Can I make these bars sweeter?

Add a bit more honey or toss in some chopped dates for extra sweetness.

Final Thoughts

There’s nothing quite like biting into a Granola Bar Homemade with Nuts & Honey that you’ve made yourself. It’s satisfying, delicious, and full of wholesome ingredients. Whether you’re making them for breakfast, snacks, or gifts, these bars are sure to become a family favorite. So grab your apron, gather your ingredients, and start baking—you won’t regret it!
Servings: 0
Tried this recipe?Let us know how it was!
Contents hide

Leave a Comment

Recipe Rating