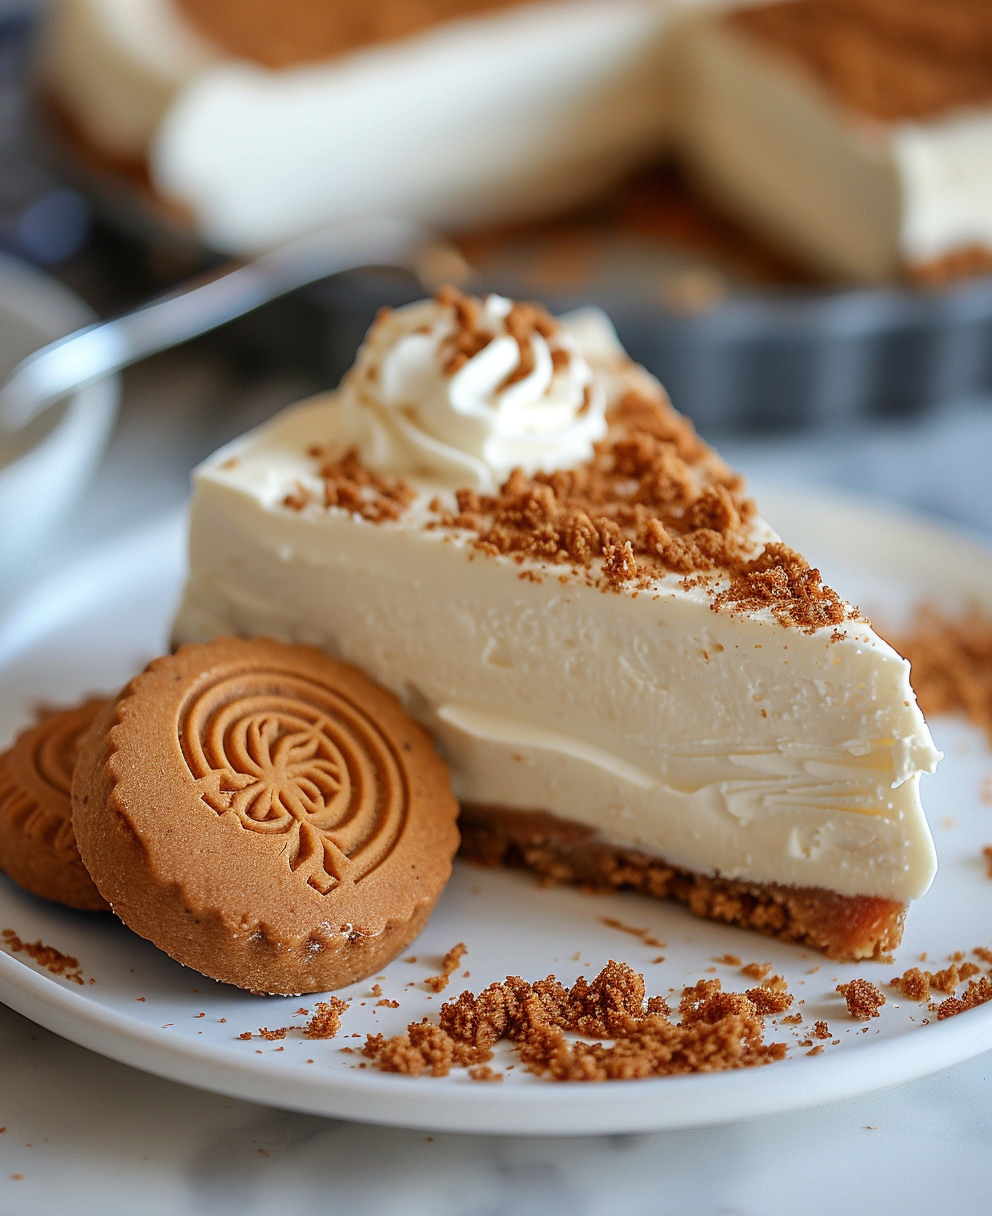
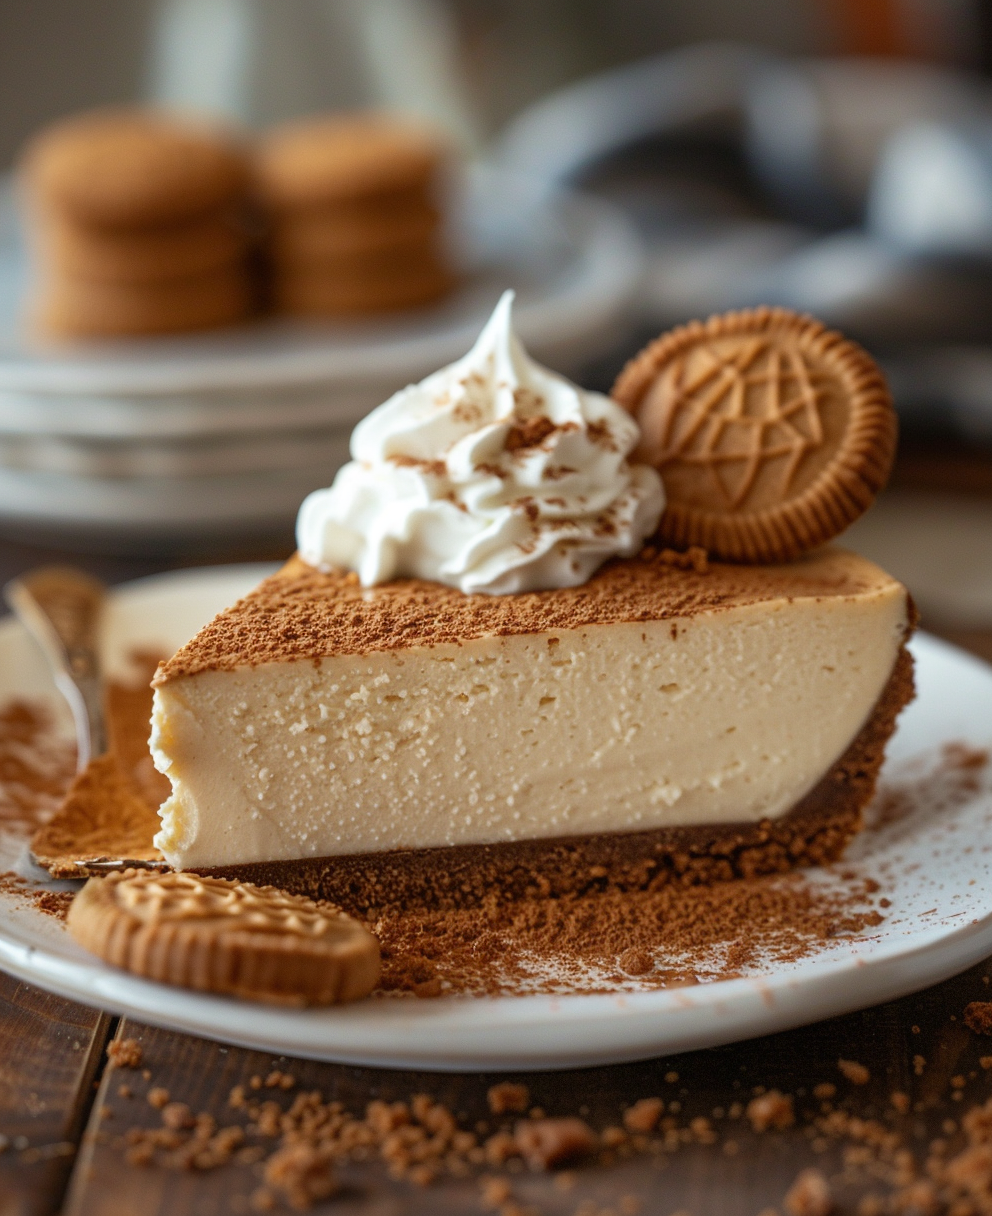
Why This No Bake Biscoff Cheesecake is a Game Changer
Picture this: it’s a busy weekend, and you’re craving something sweet but don’t want to spend hours in the kitchen. That’s when I discovered the magic of no bake biscoff cheesecake. It’s creamy, crunchy, and oh-so-satisfying without turning on the oven. I made this for my niece’s birthday last summer, and let me tell you, it was gone in minutes. Everyone kept asking for the recipe, and now it’s a family favorite. If you love Lotus Biscoff cookies as much as I do, you’re about to fall head over heels for this dessert.
A Little History About Biscoff Magic
Lotus Biscoff cookies have been around since the 1930s, originally created in Belgium. Their caramelized cinnamon flavor quickly became a hit across Europe and eventually made its way to the USA. Fast forward to today, and they’re the star ingredient in countless recipes like biscoff cheesecake 4 ingredients or even slimming world biscoff cheesecake recipe. The no-bake version is perfect for modern kitchens because it’s quick, easy, and requires minimal effort. Plus, it’s versatile enough to suit everyone’s taste, whether you’re into indulgent desserts or healthy biscoff cheesecake options.
Why You’ll Love This Recipe
This no bake biscoff cheesecake is a dream come true. First, it’s incredibly simple—just mix, chill, and serve. Second, the flavors are unbeatable. The buttery crunch of the Biscoff cookies pairs perfectly with the creamy, spiced filling. And third, it’s a crowd-pleaser. Whether you’re hosting a party or just treating yourself, this dessert will have everyone raving. Plus, it works for special diets too—you can tweak it to make it lighter or even vegan!
Perfect Occasions for This Cheesecake
This dessert shines at potlucks, dinner parties, or lazy Sunday afternoons. Imagine serving it at a holiday gathering—it’s a showstopper that doesn’t require hours of prep. It’s also great for birthdays, date nights, or even as a gift for friends. Mini versions of this mini biscoff cheesecake are perfect for bridal showers or baby showers. Honestly, there’s no bad time to whip up this beauty.
Ingredients
- 200g Lotus Biscoff cookies (crushed)
- 60g melted butter
- 250g cream cheese
- 200ml whipped cream
- 100g Biscoff spread
- 1 tsp vanilla extract
Substitution Options
- Cookies: Use graham crackers or digestive biscuits if you can’t find Biscoff cookies.
- Butter: Swap regular butter with coconut oil for a dairy-free option.
- Cream Cheese: Vegan cream cheese works well for plant-based diets.
- Whipped Cream: Substitute with coconut cream for a lighter texture.
Preparation Section
Step 1: Prepare the Crust
Start by crushing your Biscoff cookies into fine crumbs. I use a food processor, but a ziplock bag and rolling pin work just as well. Mix the crumbs with melted butter until it resembles wet sand. Press this mixture firmly into the base of a springform pan. Pro tip: Use the back of a spoon or a glass to get an even layer. Chill the crust while you prepare the filling.
Step 2: Make the Filling
In a large bowl, beat the cream cheese until smooth and fluffy. Add the Biscoff spread and vanilla extract, mixing until fully combined. Fold in the whipped cream gently to keep the airy texture intact. The filling should be light, creamy, and smell absolutely divine. Don’t rush this step—it’s what makes the cheesecake so dreamy.
Step 3: Assemble the Cheesecake
Pour the filling over the chilled crust and smooth it out with a spatula. Tap the pan lightly on the counter to remove any air bubbles. For a fancy touch, drizzle extra Biscoff spread on top and swirl it with a toothpick. Chef’s tip: Let the swirls be imperfect—they add character!
Step 4: Chill and Set
Pop the cheesecake into the fridge for at least 4 hours, or overnight if you can wait that long. This resting time allows the flavors to meld and the filling to set properly. Trust me, patience pays off here.
Timing
- Prep Time: 15 minutes
- Cooking Time: None (it’s no bake!)
- Resting Time: 4+ hours
- Total Time: Approximately 5 hours
Chef’s Secret
To take your no bake biscoff cheesecake to the next level, toast the cookie crumbs before mixing them with butter. This enhances their nutty flavor and adds an extra layer of depth to the crust.
Extra Info
Did you know Biscoff spread is often called “cookie butter”? It’s made from ground-up Biscoff cookies and has a thick, peanut-butter-like consistency. In the UK, it’s a pantry staple, inspiring recipes like lotus biscoff recipes uk.
Necessary Equipment
- Springform pan
- Mixing bowls
- Food processor or ziplock bag
- Spatula
- Whisk or electric mixer
Storage
Store your no bake biscoff cheesecake in the fridge, covered with plastic wrap or in an airtight container. It stays fresh for up to 5 days. For longer storage, freeze slices individually wrapped in parchment paper. To thaw, simply transfer them to the fridge overnight.
If you live in a warm climate, avoid leaving the cheesecake out for more than 2 hours. The creamy filling can soften too much, affecting the texture.
Pro tip: Label your freezer containers with the date so you know how long it’s been stored. Frozen slices are perfect for impromptu dessert cravings.
Tips and Advice
For best results, use full-fat cream cheese and whipped cream. Low-fat versions may cause the filling to become watery. Also, make sure your cream cheese is at room temperature before mixing—it blends much smoother. Finally, don’t skip chilling the crust; it helps hold everything together.
Presentation Tips
- Garnish with whole Biscoff cookies for a rustic look.
- Add fresh berries for a pop of color.
- Dust powdered sugar on top for elegance.
- Use a hot knife to slice clean pieces.
Healthier Alternative Recipes
If you’re looking for lighter options, try these variations:
- Low-Calorie Version: Replace cream cheese with Greek yogurt and use sugar-free Biscoff spread.
- Vegan Option: Use coconut cream and vegan cream cheese.
- Gluten-Free: Opt for gluten-free cookies or almond flour for the crust.
- Protein-Packed: Add a scoop of vanilla protein powder to the filling.
- Fruit-Infused: Swirl in mashed raspberries or mango puree.
- Mini Cheesecakes: Use cupcake liners for single-serving treats.
Common Mistakes to Avoid
Mistake 1: Skipping the Chilling Time
Rushing the chilling process is a big no-no. Without enough time, the filling won’t set properly, and your slices will fall apart. Always chill for at least 4 hours—or better yet, overnight.
Mistake 2: Overmixing the Filling
Overmixing can deflate the whipped cream, making the filling dense instead of light and airy. Fold gently and stop once everything is combined.
Mistake 3: Using Stale Cookies
Stale cookies won’t crush evenly and lack that signature crunch. Always check the expiration date or buy fresh ones for the best results.
FAQ
Can I make this cheesecake ahead of time?
Absolutely! This dessert is perfect for making ahead. Store it in the fridge for up to 5 days or freeze for longer storage. Just thaw in the fridge before serving.
Is this recipe gluten-free?
Not inherently, but you can make it gluten-free by using gluten-free cookies or substituting the crust with almond flour.
Can I use other spreads instead of Biscoff?
While Biscoff spread gives the authentic flavor, you could experiment with peanut butter or Nutella for a different twist.
How do I prevent the crust from sticking?
Line your pan with parchment paper or grease it lightly with butter to ensure easy removal.
What size pan should I use?
A standard 8-inch or 9-inch springform pan works best for this recipe.
Can I freeze this cheesecake?
Yes! Wrap individual slices in plastic wrap and store them in the freezer for up to 2 months.
Do I need an electric mixer?
No, but it makes the process faster. A whisk and some elbow grease will do the job just fine.
Why does my filling taste grainy?
This usually happens if the cream cheese wasn’t softened enough. Let it sit at room temperature before mixing.
Can kids help with this recipe?
Definitely! Crushing cookies and swirling the topping are fun tasks for little hands.
You can find them at most grocery stores or online retailers like Amazon.
Final Thoughts
There you have it—a foolproof guide to making the ultimate no bake biscoff cheesecake. Whether you’re a seasoned baker or a newbie, this recipe is guaranteed to impress. With its rich flavors, simple steps, and endless customization options, it’s a dessert you’ll return to again and again. So grab those cookies, roll up your sleeves, and let’s get baking (or rather, not baking)! Your taste buds will thank you.
No Bake Biscoff Cheesecake: Irresistibly Creamy & Easy to Make
Why This No Bake Biscoff Cheesecake is a Game Changer
Picture this: it’s a busy weekend, and you’re craving something sweet but don’t want to spend hours in the kitchen. That’s when I discovered the magic of no bake biscoff cheesecake. It’s creamy, crunchy, and oh-so-satisfying without turning on the oven. I made this for my niece’s birthday last summer, and let me tell you, it was gone in minutes. Everyone kept asking for the recipe, and now it’s a family favorite. If you love Lotus Biscoff cookies as much as I do, you’re about to fall head over heels for this dessert.A Little History About Biscoff Magic
Lotus Biscoff cookies have been around since the 1930s, originally created in Belgium. Their caramelized cinnamon flavor quickly became a hit across Europe and eventually made its way to the USA. Fast forward to today, and they’re the star ingredient in countless recipes like biscoff cheesecake 4 ingredients or even slimming world biscoff cheesecake recipe. The no-bake version is perfect for modern kitchens because it’s quick, easy, and requires minimal effort. Plus, it’s versatile enough to suit everyone’s taste, whether you’re into indulgent desserts or healthy biscoff cheesecake options.Why You’ll Love This Recipe
This no bake biscoff cheesecake is a dream come true. First, it’s incredibly simple—just mix, chill, and serve. Second, the flavors are unbeatable. The buttery crunch of the Biscoff cookies pairs perfectly with the creamy, spiced filling. And third, it’s a crowd-pleaser. Whether you’re hosting a party or just treating yourself, this dessert will have everyone raving. Plus, it works for special diets too—you can tweak it to make it lighter or even vegan!Perfect Occasions for This Cheesecake
This dessert shines at potlucks, dinner parties, or lazy Sunday afternoons. Imagine serving it at a holiday gathering—it’s a showstopper that doesn’t require hours of prep. It’s also great for birthdays, date nights, or even as a gift for friends. Mini versions of this mini biscoff cheesecake are perfect for bridal showers or baby showers. Honestly, there’s no bad time to whip up this beauty.Ingredients
- 200g Lotus Biscoff cookies (crushed)
- 60g melted butter
- 250g cream cheese
- 200ml whipped cream
- 100g Biscoff spread
- 1 tsp vanilla extract
Substitution Options
- Cookies: Use graham crackers or digestive biscuits if you can’t find Biscoff cookies.
- Butter: Swap regular butter with coconut oil for a dairy-free option.
- Cream Cheese: Vegan cream cheese works well for plant-based diets.
- Whipped Cream: Substitute with coconut cream for a lighter texture.
Preparation Section
Step 1: Prepare the Crust
Start by crushing your Biscoff cookies into fine crumbs. I use a food processor, but a ziplock bag and rolling pin work just as well. Mix the crumbs with melted butter until it resembles wet sand. Press this mixture firmly into the base of a springform pan. Pro tip: Use the back of a spoon or a glass to get an even layer. Chill the crust while you prepare the filling.Step 2: Make the Filling
In a large bowl, beat the cream cheese until smooth and fluffy. Add the Biscoff spread and vanilla extract, mixing until fully combined. Fold in the whipped cream gently to keep the airy texture intact. The filling should be light, creamy, and smell absolutely divine. Don’t rush this step—it’s what makes the cheesecake so dreamy.Step 3: Assemble the Cheesecake
Pour the filling over the chilled crust and smooth it out with a spatula. Tap the pan lightly on the counter to remove any air bubbles. For a fancy touch, drizzle extra Biscoff spread on top and swirl it with a toothpick. Chef’s tip: Let the swirls be imperfect—they add character!Step 4: Chill and Set
Pop the cheesecake into the fridge for at least 4 hours, or overnight if you can wait that long. This resting time allows the flavors to meld and the filling to set properly. Trust me, patience pays off here.Timing
- Prep Time: 15 minutes
- Cooking Time: None (it’s no bake!)
- Resting Time: 4+ hours
- Total Time: Approximately 5 hours
Chef’s Secret
To take your no bake biscoff cheesecake to the next level, toast the cookie crumbs before mixing them with butter. This enhances their nutty flavor and adds an extra layer of depth to the crust.Extra Info
Did you know Biscoff spread is often called “cookie butter”? It’s made from ground-up Biscoff cookies and has a thick, peanut-butter-like consistency. In the UK, it’s a pantry staple, inspiring recipes like lotus biscoff recipes uk.Necessary Equipment
- Springform pan
- Mixing bowls
- Food processor or ziplock bag
- Spatula
- Whisk or electric mixer
Storage
Store your no bake biscoff cheesecake in the fridge, covered with plastic wrap or in an airtight container. It stays fresh for up to 5 days. For longer storage, freeze slices individually wrapped in parchment paper. To thaw, simply transfer them to the fridge overnight. If you live in a warm climate, avoid leaving the cheesecake out for more than 2 hours. The creamy filling can soften too much, affecting the texture. Pro tip: Label your freezer containers with the date so you know how long it’s been stored. Frozen slices are perfect for impromptu dessert cravings.Tips and Advice
For best results, use full-fat cream cheese and whipped cream. Low-fat versions may cause the filling to become watery. Also, make sure your cream cheese is at room temperature before mixing—it blends much smoother. Finally, don’t skip chilling the crust; it helps hold everything together.Presentation Tips
- Garnish with whole Biscoff cookies for a rustic look.
- Add fresh berries for a pop of color.
- Dust powdered sugar on top for elegance.
- Use a hot knife to slice clean pieces.
Healthier Alternative Recipes
If you’re looking for lighter options, try these variations:- Low-Calorie Version: Replace cream cheese with Greek yogurt and use sugar-free Biscoff spread.
- Vegan Option: Use coconut cream and vegan cream cheese.
- Gluten-Free: Opt for gluten-free cookies or almond flour for the crust.
- Protein-Packed: Add a scoop of vanilla protein powder to the filling.
- Fruit-Infused: Swirl in mashed raspberries or mango puree.
- Mini Cheesecakes: Use cupcake liners for single-serving treats.
Common Mistakes to Avoid
Mistake 1: Skipping the Chilling Time
Rushing the chilling process is a big no-no. Without enough time, the filling won’t set properly, and your slices will fall apart. Always chill for at least 4 hours—or better yet, overnight.Mistake 2: Overmixing the Filling
Overmixing can deflate the whipped cream, making the filling dense instead of light and airy. Fold gently and stop once everything is combined.Mistake 3: Using Stale Cookies
Stale cookies won’t crush evenly and lack that signature crunch. Always check the expiration date or buy fresh ones for the best results.FAQ
Can I make this cheesecake ahead of time?
Absolutely! This dessert is perfect for making ahead. Store it in the fridge for up to 5 days or freeze for longer storage. Just thaw in the fridge before serving.Is this recipe gluten-free?
Not inherently, but you can make it gluten-free by using gluten-free cookies or substituting the crust with almond flour.Can I use other spreads instead of Biscoff?
While Biscoff spread gives the authentic flavor, you could experiment with peanut butter or Nutella for a different twist.How do I prevent the crust from sticking?
Line your pan with parchment paper or grease it lightly with butter to ensure easy removal.What size pan should I use?
A standard 8-inch or 9-inch springform pan works best for this recipe.Can I freeze this cheesecake?
Yes! Wrap individual slices in plastic wrap and store them in the freezer for up to 2 months.Do I need an electric mixer?
No, but it makes the process faster. A whisk and some elbow grease will do the job just fine.Why does my filling taste grainy?
This usually happens if the cream cheese wasn’t softened enough. Let it sit at room temperature before mixing.Can kids help with this recipe?
Definitely! Crushing cookies and swirling the topping are fun tasks for little hands.You can find them at most grocery stores or online retailers like Amazon.
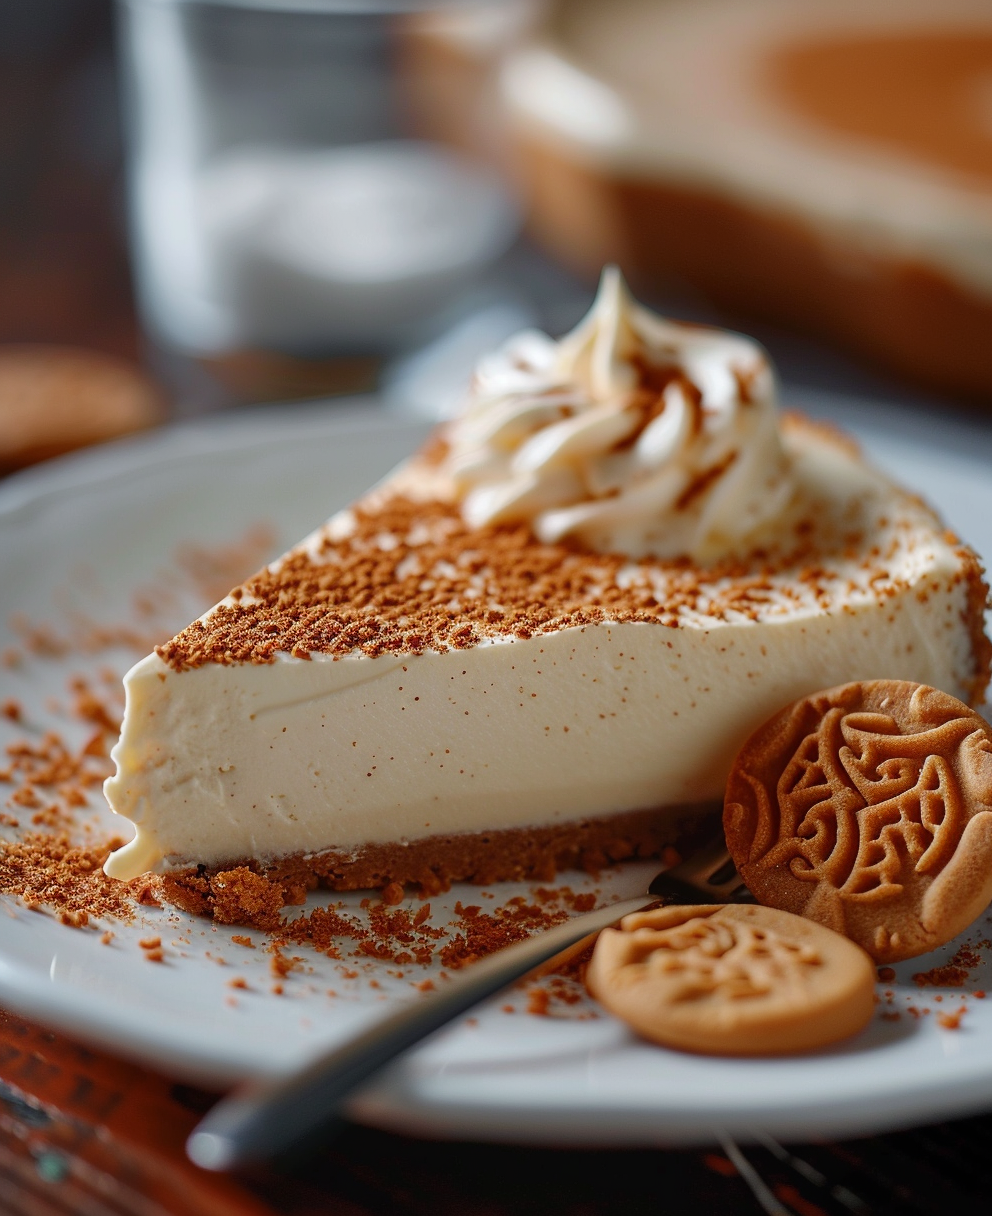
Ingredients
Equipment
Method
- Crush the Biscoff cookies into fine crumbs.
- Mix the crumbs with melted butter until it resembles wet sand and press into the base of a springform pan. Chill the crust.
- In a large bowl, beat the cream cheese until smooth and fluffy, then add the Biscoff spread and vanilla extract, mixing until combined.
- Fold in the whipped cream gently to keep the airy texture intact.
- Pour the filling over the chilled crust and smooth it out with a spatula. Tap the pan lightly to remove air bubbles and swirl extra Biscoff spread on top if desired.
- Chill the cheesecake in the fridge for at least 4 hours, or overnight for best results.