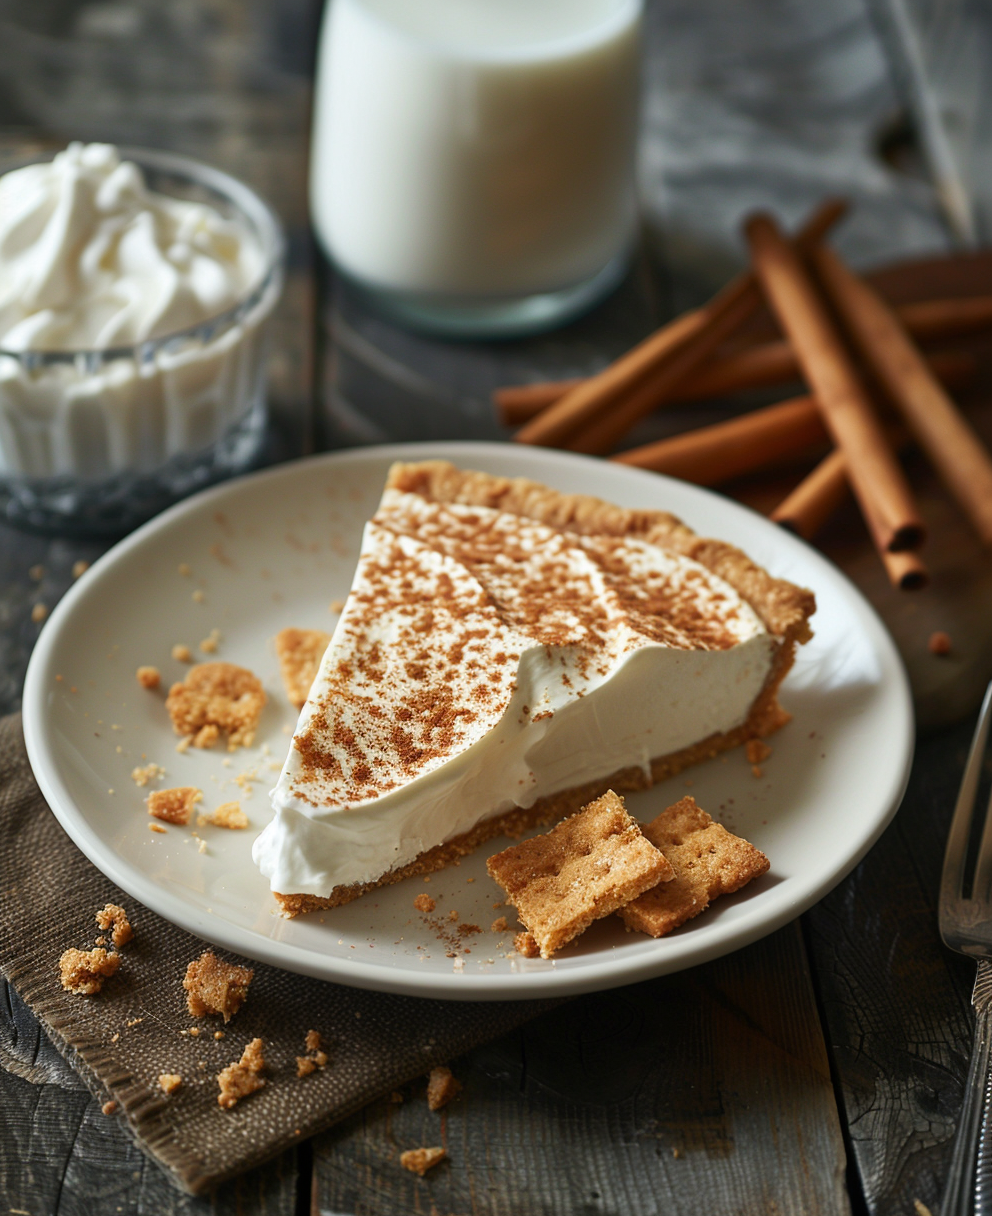
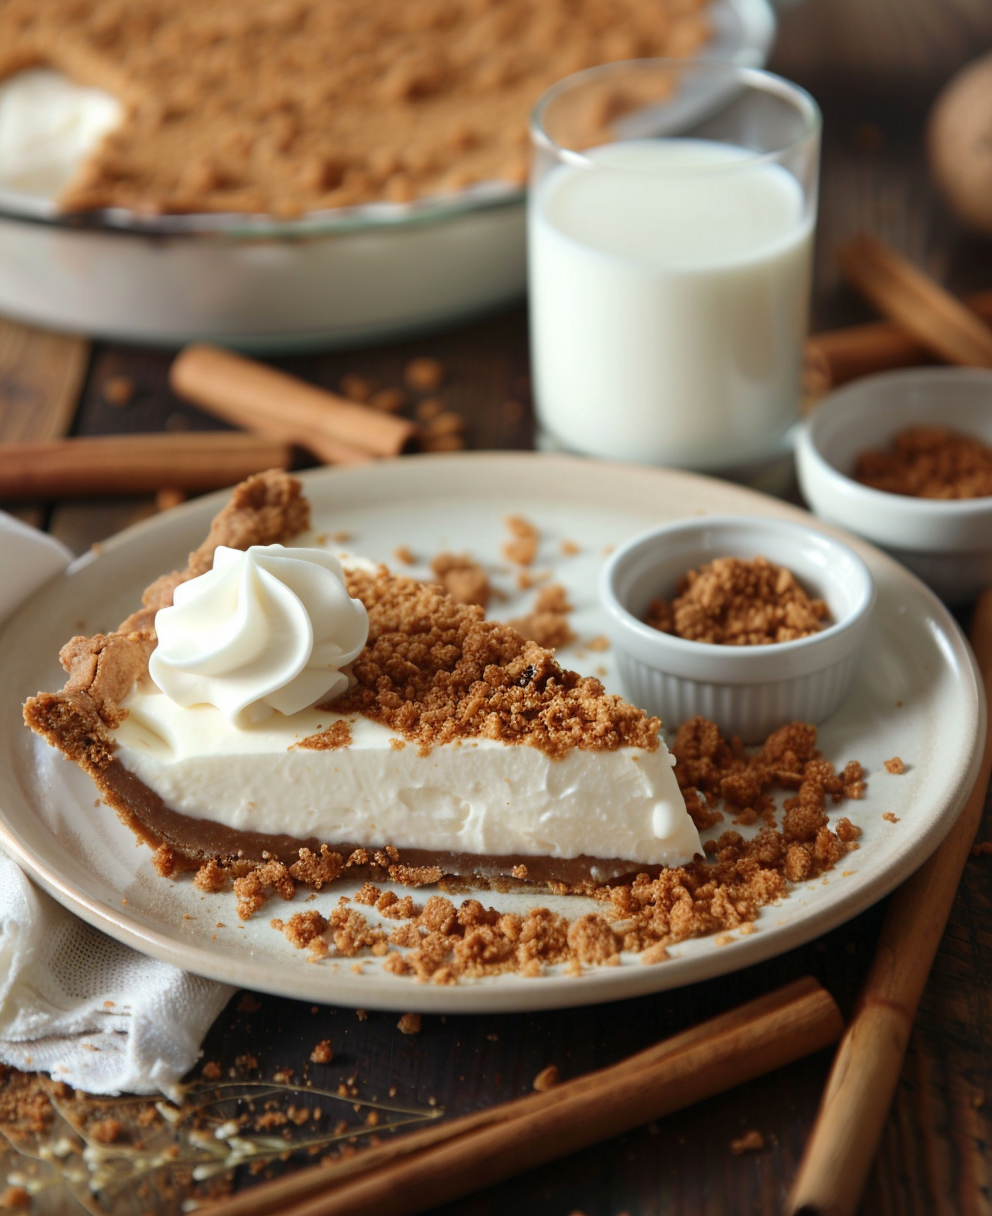
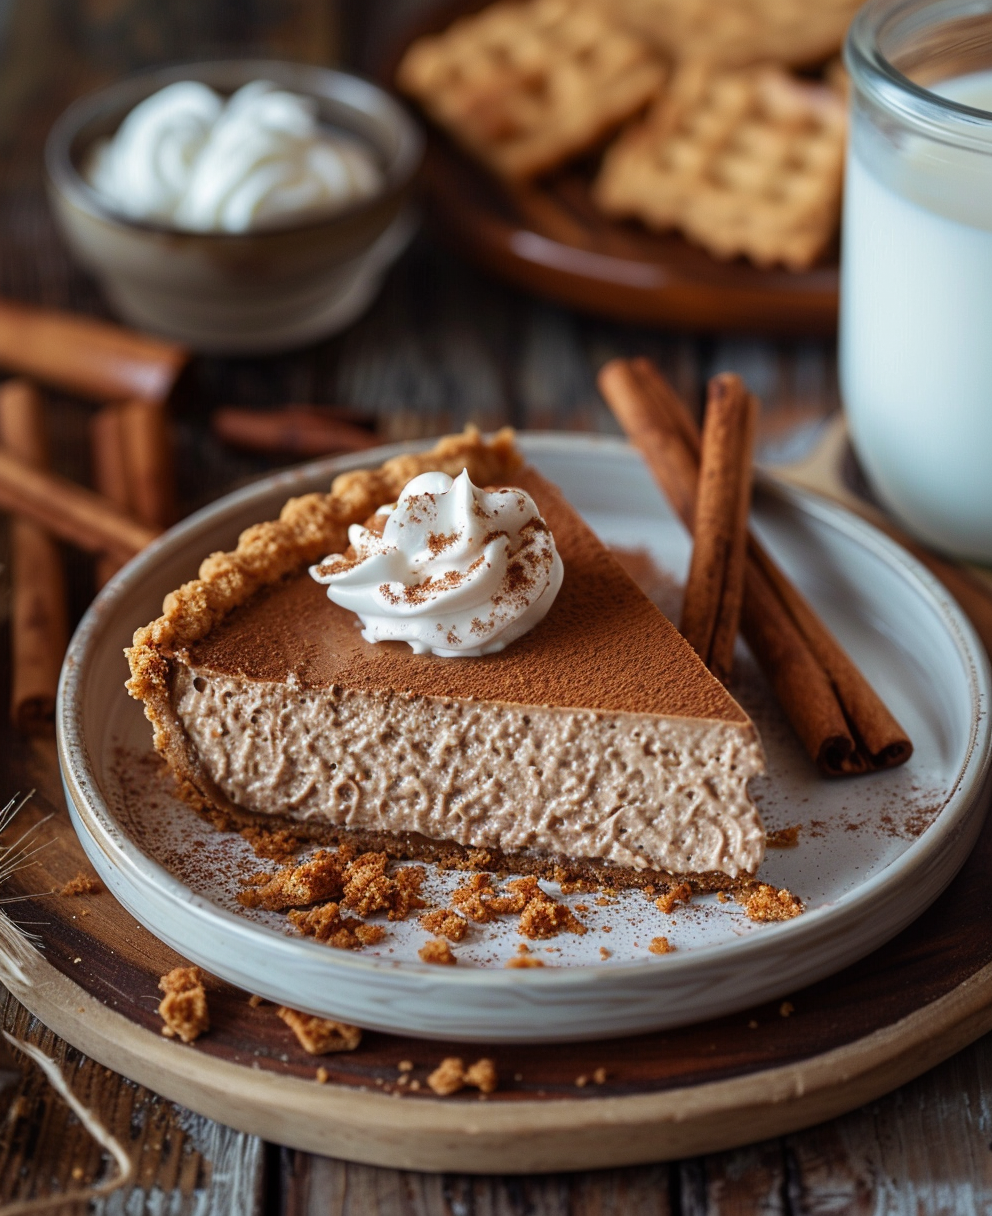
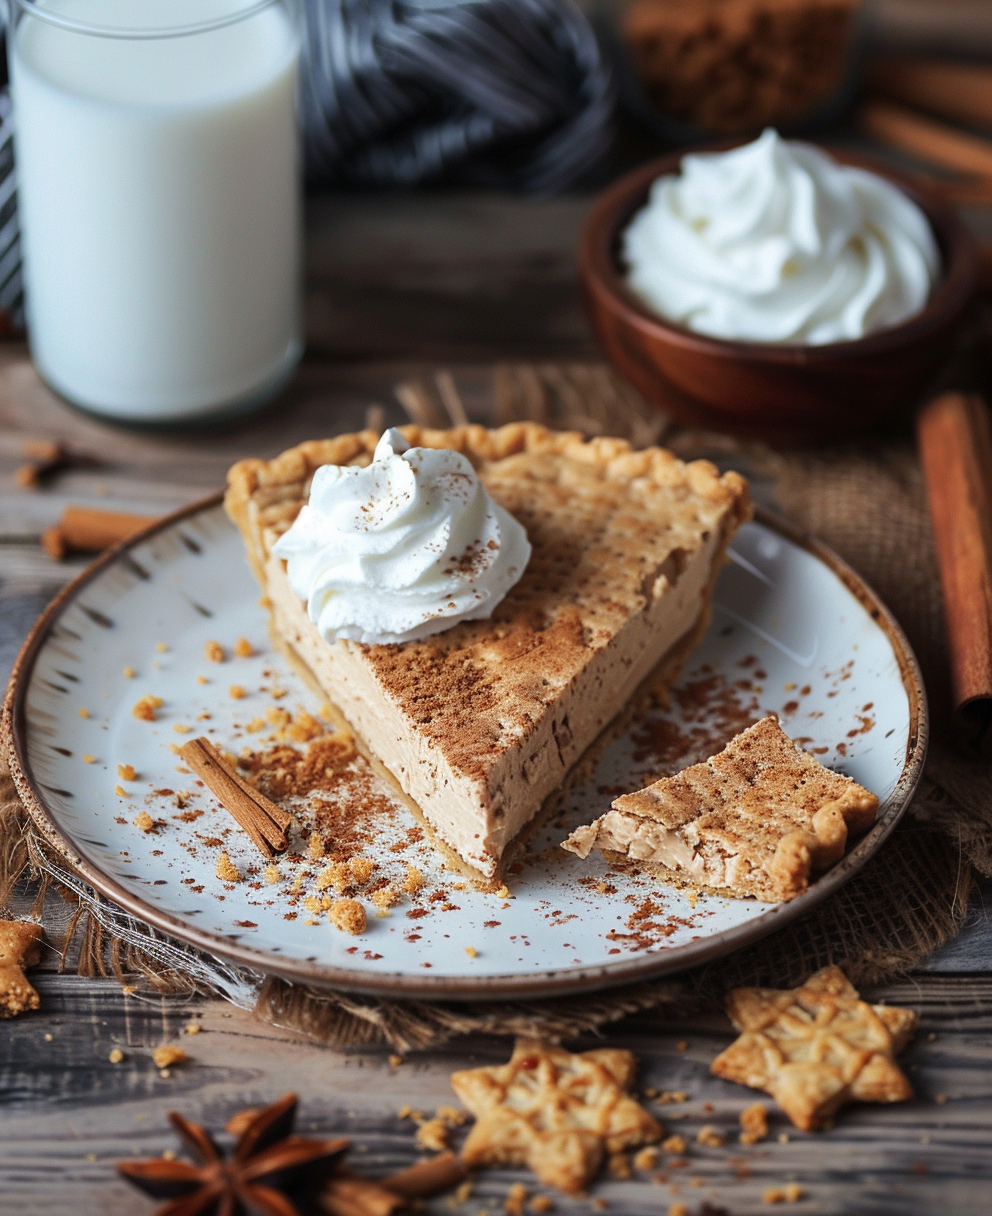
Why I Love No Bake Graham Cracker Crusts
I still remember the first time I made a no bake graham cracker crust. It felt like magic. With just a few ingredients and no oven required, I had a dessert that tasted like it came from a bakery. That moment sparked my love for no-bake desserts. They’re quick, simple, and perfect for anyone who wants delicious results without the hassle.
A no bake graham cracker crust is one of my go-to options because it’s so versatile. Whether you’re making a classic cheesecake or a fun 9×13 dessert bar, this crust works beautifully. Best of all, it’s beginner-friendly. If you can mix and press, you can make this crust. In this article, I’ll share tips, recipes, and answers to common questions about getting the perfect crust every time.
Convenience and Versatility
Let’s talk about why I always choose a no bake crust for quick desserts like pies and cheesecakes. The biggest reason? It saves time. There’s no need to preheat the oven or wait for the crust to cool. You can whip it up in minutes and focus on the filling instead. For busy days or last-minute treats, it’s a lifesaver.
If you’ve ever searched for terms like no bake graham cracker crust for 9×13 pan or graham cracker crust for cheesecake, you know how adaptable this crust is. It pairs well with creamy fillings, fruity toppings, or even rich chocolate layers. Whether you’re using a springform pan or a rectangular dish, the process stays the same—simple and foolproof.
One question I often hear is: Is it better to bake or not bake a graham cracker crust? The answer depends on your recipe. A baked crust adds a slightly toasted flavor and firmer texture, but a no bake crust is softer and quicker to prepare. For no bake desserts like chilled pies or cheesecakes, skipping the oven works perfectly.
Avoiding Common Pitfalls
Over the years, I’ve learned a few lessons the hard way. One of the biggest mistakes? Adding too much butter. When people search for too much butter in graham cracker crust, they’re usually dealing with a soggy mess. Trust me—I’ve been there. The key is finding the right balance. You want enough butter to hold the crumbs together but not so much that it becomes greasy.
Here are some tips to get the texture just right:
- Use finely crushed graham crackers for an even consistency.
- Melt the butter completely before mixing it with the crumbs.
- Test the mixture by squeezing a handful. It should stick together without feeling wet.
If you accidentally add too much butter, don’t panic. Spread the mixture on a baking sheet and let it sit for 10–15 minutes. This helps some of the moisture evaporate. Then, remix and try again.
Another common issue is pressing the crust too lightly into the pan. A weak crust can fall apart when you cut into it. To avoid this, use the back of a spoon or a flat-bottomed glass to pack the crumbs firmly. For a graham cracker crust for springform pan, take extra care around the edges to ensure it holds its shape.
Some folks wonder if they can bake a premade graham cracker pie crust. While it’s possible, I prefer starting from scratch. Store-bought crusts can sometimes lack flavor or have an uneven texture. Plus, making your own lets you customize the sweetness and thickness. If you’re looking for a recipe, check out the Honey Maid graham cracker crust recipe. It’s a great starting point, though I often tweak it to suit my taste.
Exploring Alternatives
Not everyone has graham crackers on hand, and that’s okay. There are plenty of ways to make a no bake pie crust without graham crackers. Digestive biscuits, vanilla wafers, or even crushed cookies like Oreos work well. Just adjust the butter ratio based on the cookie’s texture. For example, Oreos are softer, so you’ll need less butter to bind them.
For those who love chocolate, a no bake chocolate graham cracker crust is a game-changer. Simply swap regular graham crackers for chocolate ones, and follow the same steps. It adds a rich twist to any dessert and pairs especially well with peanut butter or caramel fillings.
Before we dive deeper into recipes, I want to emphasize how forgiving this crust is. Even if you’re new to baking—or no baking—you can master it. With these tips and tricks, you’ll be ready to create a crust that’s sturdy, flavorful, and perfectly suited to your favorite desserts.
How to Make a No Bake Graham Cracker Crust
Alright, let’s get into the nitty-gritty of making a no bake graham cracker crust. It’s one of those things that sounds fancy but is actually super easy—trust me on this. Whether you’re whipping up something for a potluck or just craving dessert, this crust will save your day. Plus, it’s versatile enough to work in any pan, from a 9×13 dish to a springform pan. Let’s break it down step by step.
Step-by-Step Instructions
Here’s the deal: making a no bake graham cracker crust for 9×13 pan is as simple as crushing crackers, mixing them with butter, and pressing them into place. But don’t let the simplicity fool you—it’s all about the details. First, grab about 2 cups of finely crushed graham crackers. You can use a food processor if you have one, or just toss them in a ziplock bag and crush them with a rolling pin. Weirdly satisfying, right?
Next, melt about 6 tablespoons of butter. I always go for unsalted because it lets me control the flavor better. Pour the melted butter over the crumbs and mix until everything looks like wet sand. If you’ve ever built a sandcastle, you’ll know exactly what texture to aim for. Test it by squeezing a handful—if it holds together without crumbling apart, you’re golden.
Now, press the mixture firmly into your pan. For a 9×13 pan, spread it evenly across the bottom. If you’re using a springform pan for something like my no bake cheesecake with cool whip, make sure to press it up the sides too. A flat-bottomed glass or measuring cup works wonders here. Pressing firmly ensures the crust doesn’t fall apart when you slice into it later.
By the way, if chocolate’s more your thing, swap out regular graham crackers for chocolate ones to make a no bake chocolate graham cracker crust. It’s perfect for pairing with peanut butter fillings or even caramel drizzle. Just follow the same steps, and voilà—you’ve got a rich base for your dessert.
Substitutes and Alternatives
Let’s say you’re staring at an empty pantry and realizing you don’t have any graham crackers. Don’t panic! There are plenty of alternatives. Digestive biscuits work great, though they’re a bit sweeter, so you might want to cut back on added sugar. Or try vanilla wafers—they give a softer texture but still hold together well. Funny enough, I once used crushed Oreos for a birthday party dessert, and it was a hit. Just remember to adjust the butter ratio since Oreos are softer than graham crackers.
If you’re feeling lazy—or maybe just short on time—you could always start with a store-bought Honey Maid graham cracker crust recipe. While it’s convenient, I find homemade versions taste fresher and allow for customization. Want a thicker crust? Add more crumbs. Prefer less sweetness? Cut back on the sugar. The beauty of making it yourself is total control over the outcome.
Oh, and here’s a pro tip: if you’re using a springform pan, line the bottom with parchment paper before pressing in the crust. This makes cleanup a breeze and prevents sticking. Springform pans can be tricky, but with a little prep, you’ll have a flawless crust every time.
Troubleshooting Tips
So, what happens if you skip baking a graham cracker crust? Honestly, not much—if you’re making a no-bake dessert, that is. Skipping the oven keeps the crust soft and tender, which is ideal for chilled treats like my no bake cheesecake bites. However, if you’re aiming for a firmer, slightly toasted crust, popping it in the oven for 8–10 minutes at 350°F can add depth to the flavor.
Some folks wonder whether premade crusts need baking. Technically, they don’t, but baking them briefly can enhance their texture and flavor. Premade crusts tend to be thinner and less sturdy, so if you’re layering heavy fillings, baking helps firm them up. Just keep an eye on them to avoid burning.
One last note: if you accidentally overdo the butter (we’ve all been there), don’t stress. Spread the mixture onto a baking sheet and let it sit for 10–15 minutes to dry out slightly. Then remix and try again. Too much butter can lead to a soggy crust, but it’s fixable with a little patience.
Making It Kid-Friendly
If you’ve got kids running around, involve them in the process! Crushing graham crackers is a fun activity, and pressing the crust into the pan gives them a sense of accomplishment. Check out my guide on easy no bake recipes for kids for more ideas. Desserts made with love—and a little mess—are always worth it.
A Few Final Thoughts
Here’s the thing: a no bake graham cracker crust is like the ultimate blank canvas. It pairs beautifully with creamy fillings, fruity toppings, or rich chocolate layers. Whether you’re making a classic cheesecake or experimenting with something new, this crust has your back. And hey, if you mess up, just scrape it out and start over. That’s the beauty of no-bake recipes—they’re forgiving.
Funny story: I once tried doubling the butter because I thought “more is better.” Spoiler alert: it wasn’t. The crust turned into a greasy disaster, and I had to toss the whole thing. Lesson learned? Stick to the recommended amounts unless you’re confident in tweaking recipes.
In the end, the key to mastering this crust lies in practice and creativity. Try different variations, experiment with flavors, and most importantly, have fun with it. After all, dessert should bring joy—not stress.
Advanced Tips and Tricks
Let’s dive into some advanced tips that’ll take your no bake graham cracker crust to the next level. You’ve already got the basics down, but what about adding a little extra flair? Sometimes, it’s the small tweaks that make all the difference.
Elevating Your Crust Game
Here’s a fun idea: try adding spices or extracts to your crust mix. A pinch of cinnamon or nutmeg gives it a warm, cozy vibe—perfect for fall desserts. Or, if you’re feeling adventurous, toss in a splash of vanilla extract or almond extract for a subtle flavor boost. These little additions might seem minor, but they can elevate your crust from “meh” to “wow.”
By the way, presentation matters too. If you’re making a graham cracker crust for cheesecake, consider sprinkling a bit of crushed cookie or even some finely chopped nuts on top of the crust before adding the filling. It adds texture and makes your dessert look like it came straight out of a bakery case. Funny enough, I once used crushed pretzels on a chocolate crust for a sweet-and-salty combo, and it was a total hit.
If you’re a fan of branded options, don’t shy away from using a Honey Maid graham cracker crust. Sure, homemade is great, but sometimes convenience wins. Plus, Honey Maid crackers have that classic flavor people love. Just tweak it a bit by mixing in some extra crumbs or spices to make it feel more personal. Trust me, no one will know the difference unless you tell them.
When Baking Is Necessary
Now, let’s talk about when baking might still be a good idea—even for no-bake recipes. While skipping the oven is the whole point of a no bake graham cracker crust, there are times when a quick bake can actually improve your results. For example, if you’re layering a super heavy filling, baking the crust for 8–10 minutes at 350°F helps it firm up. This prevents it from getting soggy under the weight of the filling.
Speaking of which, should you bake the crust of a no bake cheesecake? Honestly, it depends. If you’re using a light, airy filling like whipped cream or Cool Whip, you probably don’t need to. But if your filling is dense or contains a lot of moisture, baking the crust first can help it hold its shape better. Think of it as giving your crust a little backbone—it’ll thank you later.
I’ve also found that baking enhances the flavor, especially if you’re using plain graham crackers. The heat brings out a toasty, caramelized note that pairs beautifully with creamy fillings. Just don’t overdo it—nobody likes a burnt crust. Keep an eye on it and pull it out as soon as it starts to smell fragrant.
Fine-Tuning Your Technique
One trick I swear by is chilling the crust before adding the filling. Pop it in the fridge for 15–20 minutes after pressing it into the pan. This helps it set and firm up, making it less likely to crumble when you cut into it later. It’s a small step, but it makes a big difference.
Another pro tip: if you’re making a no bake graham cracker crust for 9×13 pan, consider doubling the recipe. A thicker crust not only feels more indulgent but also provides better structural support for layered desserts. Plus, who doesn’t love extra crunch?
Oh, and here’s something I learned the hard way: always measure your ingredients carefully. I once eyeballed the butter and ended up with a greasy mess. Lesson learned—precision matters, especially when it comes to ratios.
While we’re on the topic of precision, let’s chat about substitutions. If you’re out of graham crackers, don’t stress. Digestive biscuits or even crushed cookies like Oreos work just fine. Adjust the butter accordingly, though. Softer cookies need less binding, while firmer ones might require a tad more. It’s all about finding that sweet spot.
Digging Deeper Into Creativity
Sometimes, the best ideas come from experimentation. For instance, why not try a no bake chocolate graham cracker crust with a twist? Add a tablespoon of cocoa powder to the mix for an extra-rich flavor. Or, if you’re feeling bold, sprinkle in some espresso powder for a hint of coffee goodness. Chocolate and coffee are a match made in heaven, after all.
Here’s the thing: desserts are supposed to be fun. Don’t be afraid to get creative and put your own spin on things. Maybe you want to add a layer of melted chocolate between the crust and filling for extra decadence. Or perhaps you’d rather sprinkle crushed candy bars on top for a playful touch. Whatever you do, make it yours.
By the way, if you’re looking for more inspiration, check out my guide on easy dessert recipes. It’s packed with ideas to spark your creativity and keep your dessert game strong.
A Few Final Thoughts
At the end of the day, making a no bake graham cracker crust is all about balance. Balance the flavors, balance the texture, and balance the effort. You don’t need to be a pastry chef to nail this—it’s forgiving, versatile, and perfect for any skill level.
So go ahead, experiment. Try new combinations, tweak the recipe, and most importantly, have fun with it. Dessert is supposed to bring joy, so don’t sweat the small stuff. And hey, if you mess up, just scrape it out and start over. That’s the beauty of no-bake recipes—they’re as forgiving as they come.
Frequently Asked Questions (FAQ)
- Is it better to bake or not bake a graham cracker crust?
It depends on your recipe. A baked crust has a firmer texture and toasted flavor, while a no-bake crust is softer and quicker to prepare. For chilled desserts, no-bake works perfectly. - What happens if you don’t bake a graham cracker crust?
Nothing bad! A no-bake crust stays soft and tender, which is ideal for chilled desserts. However, it might not hold up as well under heavy or moist fillings. - Should you bake the crust of a no bake cheesecake?
Not necessarily. If your filling is light, skip baking. But for denser fillings, baking the crust for 8–10 minutes can help it firm up and prevent sogginess. - Can you use too much butter in a graham cracker crust?
Absolutely. Too much butter makes the crust greasy and prone to falling apart. Stick to the recommended amount, and test the mixture by squeezing a handful. - How do you fix a soggy graham cracker crust?
Spread the mixture on a baking sheet and let it sit for 10–15 minutes to dry out slightly. Remix and try again. Alternatively, chill the crust before adding the filling. - Can you substitute graham crackers with other cookies?
Yes! Digestive biscuits, vanilla wafers, or even crushed Oreos work well. Adjust the butter ratio based on the cookie’s texture. - Do you need to preheat the oven for a graham cracker crust?
Only if you’re baking it. Preheat to 350°F for a quick 8–10 minute bake to toast the crust and enhance its flavor. - Why is my crust crumbling when I cut into it?
You might not have pressed it firmly enough. Use the back of a spoon or a flat-bottomed glass to pack it tightly into the pan. - Can you freeze a no bake graham cracker crust?
Yes! Freeze it for up to a month. Just wrap it tightly in plastic wrap to prevent freezer burn. - What’s the best way to line a springform pan for a crust?
Line the bottom with parchment paper before pressing in the crust. This prevents sticking and makes cleanup easier.
There you have it—a complete guide to mastering the art of the no bake graham cracker crust. Remember, the key is to keep experimenting and having fun. Whether you stick to the classics or try something wild, every crust is a chance to create something delicious. Now go forth and bake—or not!

no bake graham cracker crust
Ingredients
Equipment
Method
- Crush the graham crackers until finely ground using a food processor or by placing them in a ziplock bag and crushing with a rolling pin.
- Melt the unsalted butter completely.
- Pour the melted butter over the crushed graham crackers and mix until it resembles wet sand.
- Test the mixture by squeezing a handful; it should hold together without crumbling apart.
- Firmly press the mixture into the bottom and sides of a 9x13 pan or springform pan using a flat-bottomed glass or measuring cup.
- (Optional) Chill the crust in the fridge for 15-20 minutes to help it set before adding the filling.


