
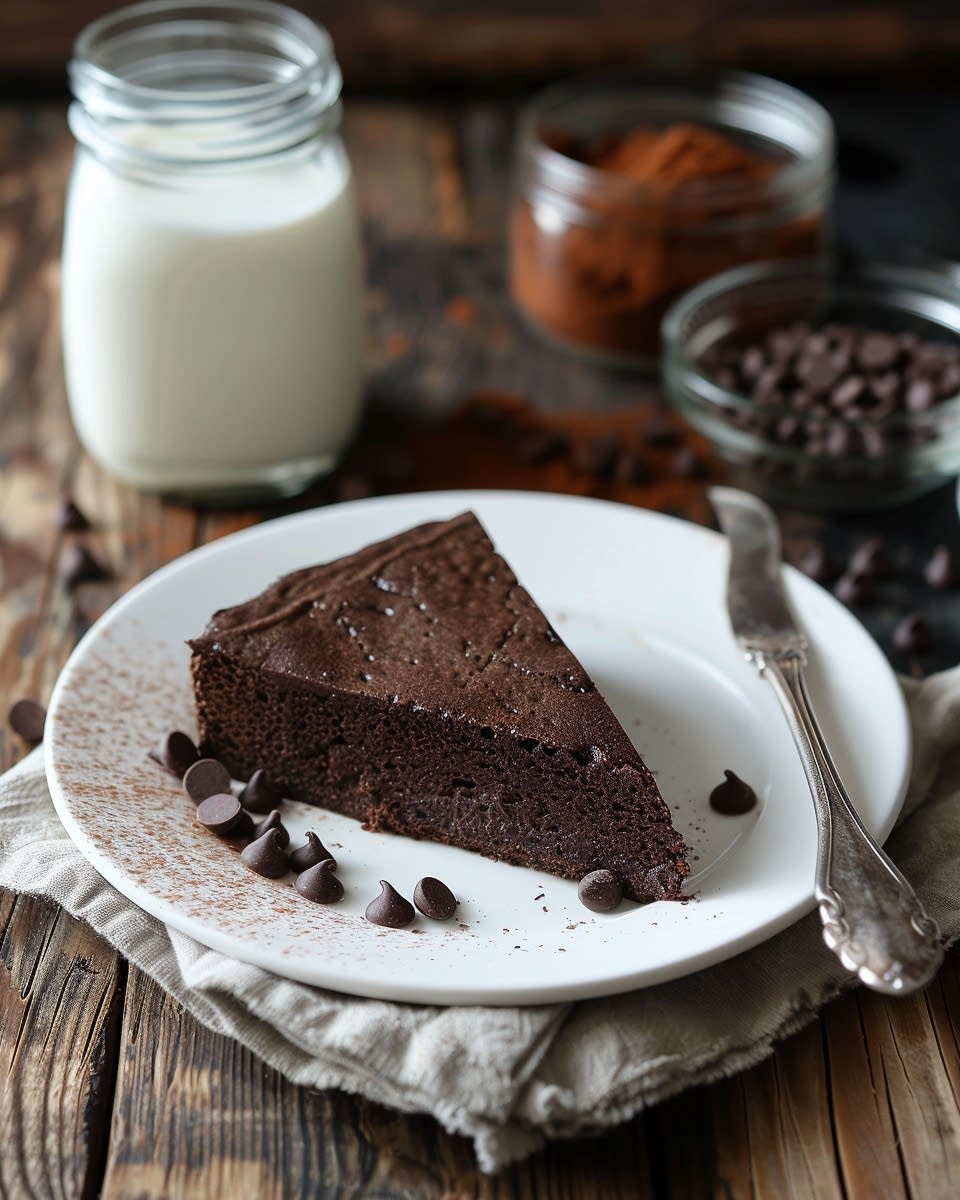
A Sweet Treat Without the Heat: No-Bake Chocolate Biscuit Cake
Imagine a dessert that’s so simple, even your kids can help whip it up. That’s the magic of No-Bake Chocolate Biscuit Cake. It’s a delightful treat that’s perfect for those lazy summer days or when you just don’t feel like turning on the oven.
The Rich History of No-Bake Chocolate Biscuit Cake
Did you know that this cake has roots in the royal kitchens? Yes, it’s said to be one of Queen Elizabeth II’s favorite desserts! The traditional version is a British classic, often served at tea parties and family gatherings. Over the years, it’s evolved into numerous variations, each with its own twist.
Why You’ll Fall in Love with This No-Bake Delight
This no-bake treat is a crowd-pleaser for several reasons. Firstly, it’s incredibly easy to make—no baking skills required! Secondly, the rich, chocolatey flavors mixed with the crunchy biscuits create a textural delight that’s hard to resist. Lastly, it’s versatile and can be customized with your favorite add-ins, like nuts or dried fruits.
Perfect Occasions to Prepare This No-Bake Goodness
Whether it’s a casual get-together, a birthday party, or just a cozy night in, this No-Bake Chocolate Biscuit Cake fits right in. It’s especially great for potlucks or when you need a quick dessert that’s sure to impress.
Ingredients for Your No-Bake Chocolate Biscuit Cake
- 1 cup unsalted butter
- 1 cup granulated sugar
- 1/2 cup cocoa powder
- 1/2 teaspoon vanilla extract
- 1/4 teaspoon salt
- 3 cups crushed digestive biscuits
- 1 cup mini marshmallows
- 1 cup dark chocolate chips
Substitution Options
- Butter: Feel free to use margarine if you prefer a dairy-free option.
- Sugar: Brown sugar or honey can be used as a substitute for granulated sugar.
- Biscuits: Graham crackers or any other crunchy cookies work well too.
- Marshmallows: If you’re not a fan, you can omit them or use white chocolate chips instead.
Preparation Section
Step 1: Melt the Butter
In a large saucepan, melt the butter over low heat. Watch it carefully to ensure it doesn’t burn. The aroma of melting butter will already make your mouth water!
Step 2: Add Sugar and Cocoa Powder
Once the butter is melted, stir in the sugar and cocoa powder. Keep stirring until everything is well combined. The mixture should look smooth and glossy, like a rich chocolate sauce.
Step 3: Mix in Vanilla and Salt
Add the vanilla extract and salt to the mixture. Stir well to combine. The vanilla enhances the chocolate flavor, making it even more delectable.
Step 4: Fold in the Biscuits and Marshmallows
Carefully fold in the crushed digestive biscuits and marshmallows. The texture should be chunky and slightly gooey. It’s okay if some of the biscuits are still in small pieces; they add a nice crunch.
Step 5: Transfer to a Pan
Transfer the mixture to a lined loaf pan. Press it down firmly using the back of a spoon or a spatula. This step is crucial to ensure the cake holds together nicely.
Step 6: Top with Chocolate Chips
Sprinkle the dark chocolate chips evenly over the top. Press them gently into the mixture to make sure they stick. The extra layer of chocolate adds a luxurious touch.
Step 7: Chill and Set
Cover the pan with plastic wrap and chill in the refrigerator for at least 2 hours, or until set. Patience is key here, but trust me, it’s worth the wait!
Timing
Prep Time: 15 minutes
Cooking Time: None (it’s no-bake!)
Resting Time: 2 hours
Total Time: 2 hours and 15 minutes
Chef’s Secret: A Unique Trick to Enhance the Recipe
To elevate the flavor, add a pinch of cinnamon or a dash of espresso powder to the chocolate mixture. It adds a subtle, warm note that complements the richness of the chocolate.
Extra Info
Interestingly, the digestive biscuits were originally created as a health food in the 19th century. They were meant to aid digestion, hence the name. Isn’t it amazing how a healthy snack from the past can turn into a delicious dessert?
Necessary Equipment
- Large saucepan
- Loaf pan
- Parchment paper
- Spatula or wooden spoon
- Plastic wrap
Storage
Fridge Storage: Store the No-Bake Chocolate Biscuit Cake in an airtight container in the refrigerator. It will keep well for up to 5 days. Perfect for snacking all week long!
Freezer Storage: For longer storage, you can freeze the cake. Simply wrap it in plastic wrap and then in aluminum foil. It will stay fresh in the freezer for up to 3 months. Just thaw it in the fridge before serving.
Room Temperature: If you plan to serve it at a party, take it out of the fridge about 10-15 minutes before serving. This will make it easier to cut and serve, and the flavors will be perfectly balanced.
Tips and Advice
- Use room temperature ingredients for better mixing.
- Crush the biscuits coarsely for a nice texture.
- Don’t overmix the marshmallows; you want them to be visible and chewy.
- For a more decadent treat, drizzle some melted chocolate over the top before chilling.
Presentation Tips
- Slice the cake into neat squares or rectangles and arrange them on a platter.
- Garnish with a sprinkle of powdered sugar or a few fresh berries.
- Add a dollop of whipped cream or a scoop of vanilla ice cream on the side for an extra indulgent touch.
Healthier Alternative Recipes
If you’re looking for a healthier version of this no-bake treat, try these variations:
- No-Bake Peanut Fudge: A nutty and creamy alternative that’s just as delicious.
- No-Bake Chocolate Oats: Substitute the biscuits with oats for a fiber-rich and slightly less sweet option. Find the recipe here.
- No Bake Lemon Cheesecake: For a tangy twist, opt for a lemon cheesecake that’s light and refreshing. Check out the recipe here.
- No-Bake Coconut Bars: Add a tropical twist with coconut bars that are naturally sweet and satisfying. Get the recipe here.
- No-Bake Avocado Chocolate Pudding: Use avocados for a creamy, healthy, and surprisingly delicious pudding. Perfect for a guilt-free treat.
- No-Bake Chia Seed Pudding: Opt for chia seeds for a nutritious and filling dessert. It’s a great way to add some superfoods to your diet.
Common Mistakes to Avoid
Mistake 1: Using Too Much Cocoa Powder
Too much cocoa powder can make the cake bitter. Start with the recommended amount and adjust to taste. Remember, you can always add more, but you can’t take it out once it’s been added.
Mistake 2: Not Chilling Long Enough
Not letting the cake chill for the full 2 hours can result in a messy, unformed cake. Be patient; the waiting time is crucial for the ingredients to set properly.
Mistake 3: Overmixing the Biscuits
Overmixing the biscuit crumbs can make the cake too dense and less enjoyable. Aim for a mix where you can still see bits of the biscuit for a nice crunch.
Mistake 4: Not Lining the Loaf Pan
Skipping the parchment paper step can lead to a sticky situation. Make sure to line the pan to easily remove the cake without breaking it.
Mistake 5: Using Hardened Butter
Using butter straight from the fridge can make it difficult to incorporate smoothly. Soften the butter by leaving it out at room temperature for a few minutes before melting.
FAQ
Can I use different types of chocolate chips?
Absolutely! You can use milk, dark, or even white chocolate chips. Each type will give a slightly different flavor profile, so choose based on your preference.
Is this cake gluten-free?
Traditional digestive biscuits contain gluten, but you can use gluten-free alternatives to make this cake suitable for those with gluten sensitivities.
How long does the cake need to chill?
The cake needs to chill for at least 2 hours. This allows the ingredients to set and makes the cake easier to slice and serve.
Can I add nuts to the recipe?
Yes, you can add chopped nuts like walnuts, almonds, or pecans for extra texture and flavor. Just fold them in with the biscuits and marshmallows.
What can I use instead of marshmallows?
If you don’t like marshmallows, you can use dried fruits like raisins or cranberries, or even white chocolate chips for a different twist.
Can I make this recipe vegan?
Yes, you can use vegan butter and substitute the marshmallows with vegan marshmallows or a similar ingredient. This will make the recipe suitable for a vegan diet.
How do I store the leftover cake?
Store the cake in an airtight container in the refrigerator for up to 5 days. Alternatively, you can freeze it for up to 3 months. Thaw it in the fridge before serving.
Definitely! You can use graham crackers, vanilla wafers, or any other crunchy cookies you like. The texture and flavor will vary, adding a unique twist to the cake.
Is this cake suitable for a potluck?
Yes, it’s perfect for a potluck! Just make sure to cut it into slices and place them on a platter. It’s a portable and crowd-pleasing dessert.
Can I make this cake ahead of time?
Absolutely! You can make it up to 2 days in advance. Just keep it in the fridge until you’re ready to serve. It’s a great time-saver for busy days.
If you loved this No-Bake Chocolate Biscuit Cake, you might also enjoy exploring more no-bake recipes. From fudgy delights to creamy cheesecakes, there’s a whole world of no-bake treats waiting for you. Happy baking… er, no-baking!
No-Bake Chocolate Cake
Ingredients
Equipment
Method
- In a large saucepan, melt the butter over low heat.
- Stir in the sugar and cocoa powder until well combined.
- Add the vanilla extract and salt to the mixture and stir well.
- Fold in the crushed digestive biscuits and marshmallows.
- Transfer the mixture to a lined loaf pan and press it down firmly.
- Sprinkle the dark chocolate chips evenly over the top and press them in gently.
- Cover the pan with plastic wrap and chill in the refrigerator for at least 2 hours, or until set.