
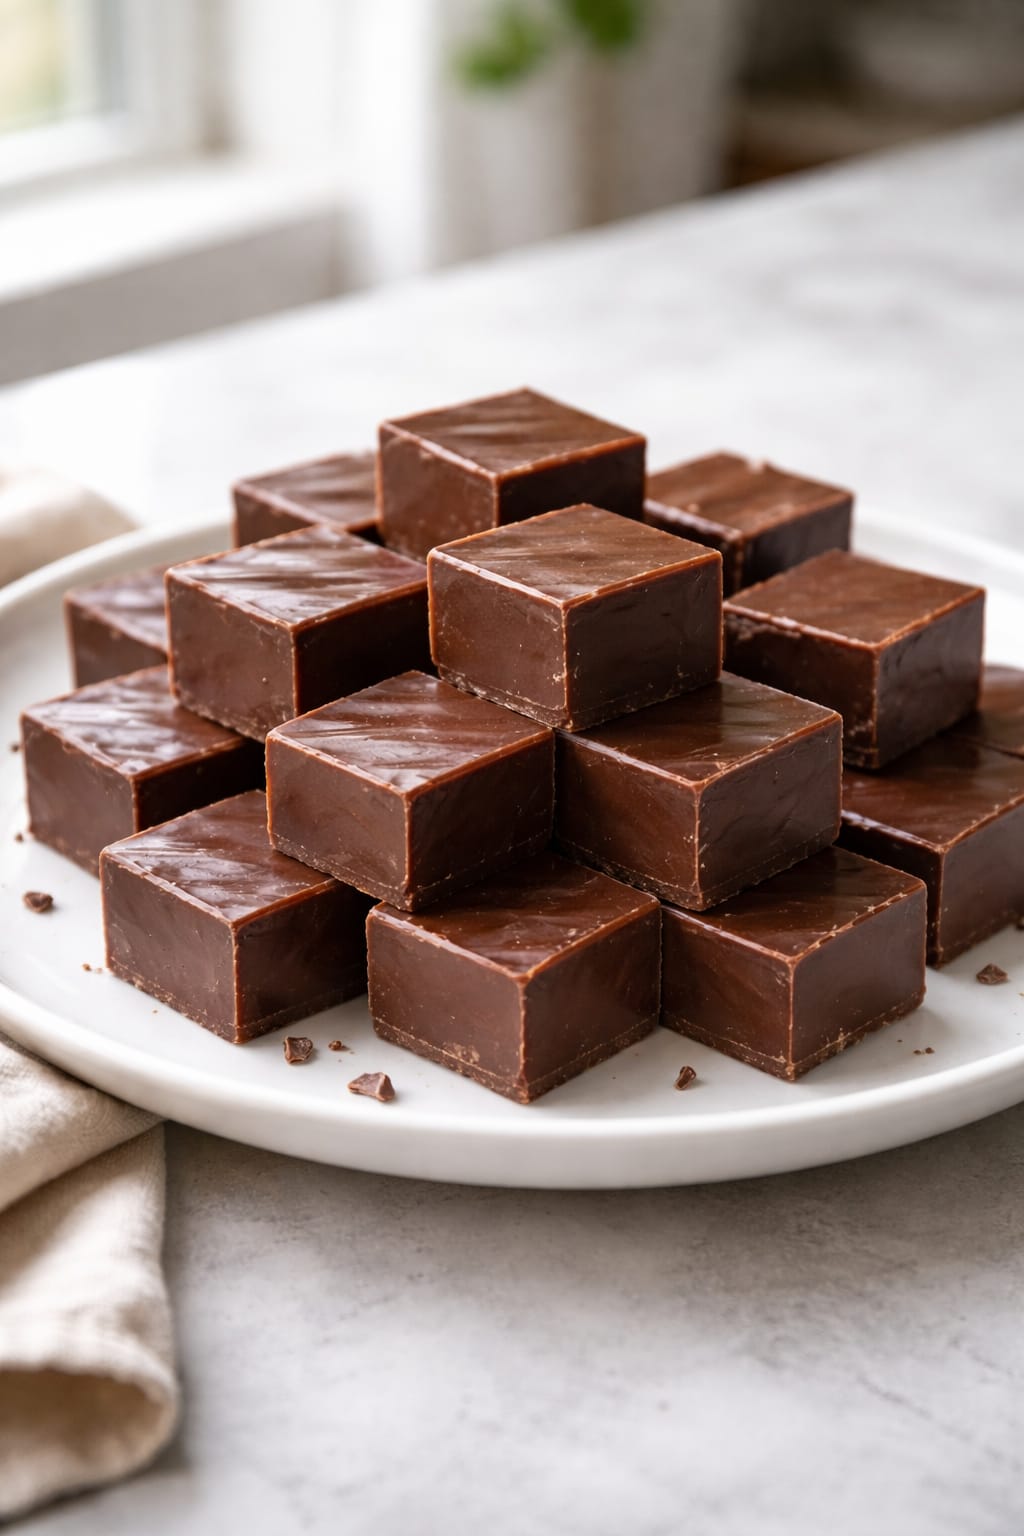
A Sweet Treat for Every Occasion: Quick Chocolate Fudge
Imagine a rich, velvety chocolate fudge that’s so easy to make, you’ll wonder why you didn’t try it sooner. This Quick Chocolate Fudge recipe is a go-to in my kitchen, not just because it’s delicious, but because it brings a smile to everyone’s face. It’s a dessert that feels like a warm hug, perfect for any gathering or a cozy night in.
The Story Behind the Fudge
Fudge has a long and sweet history. Originally created by accident in the late 1800s, it has since become a beloved treat across the globe. From traditional American fudge sold in coastal towns to modern variations with unique flavors, fudge has evolved into a versatile and adored confection. My version of chocolate fudge combines the classic creamy texture with a quick, easy method that anyone can master.
Why You’ll Fall in Love with This Recipe
This Quick Chocolate Fudge is a winner for many reasons. First, the flavor is rich and indulgent, thanks to the high-quality chocolate and the perfect balance of sweetness. Second, it’s incredibly simple to make, requiring just a few ingredients and no special equipment. Lastly, it’s a crowd-pleaser. Whether you’re serving it at a holiday party or enjoying it as a midnight snack, this fudge never fails to impress.
Perfect Occasions to Prepare This Delight
From Christmas cookie exchanges to summer barbecues, this fudge is a versatile treat. It’s a hit at birthday parties, potlucks, and even as a thoughtful homemade gift. Plus, it’s a great way to satisfy your sweet tooth on a lazy Sunday afternoon. Trust me, once you make this, you’ll find plenty of occasions to whip up another batch!
Ingredients
- 1 cup (2 sticks) unsalted butter
- 1 cup milk
- 3 cups granulated sugar
- 12 oz semisweet chocolate chips
- 1 jar (7 oz) marshmallow creme
- 1 tsp vanilla extract
- A pinch of salt
Substitution Options
- Butter: Substitute with margarine or coconut oil for a dairy-free option.
- Milk: Use almond milk or soy milk for those with lactose intolerance.
- Semisweet chocolate chips: Try dark chocolate or white chocolate for a different twist.
- Vanilla extract: Add a dash of almond extract or peppermint extract for extra flavor.
Preparation Steps
Step 1: Melt the Butter and Milk
In a large saucepan, melt the butter over medium heat. Once melted, add the milk and stir until well combined. The mixture should be smooth and glossy, with a rich, buttery aroma.
Step 2: Add Sugar and Simmer
Add the sugar to the butter-milk mixture and stir until it dissolves completely. Bring the mixture to a boil, then reduce the heat to low and let it simmer for about 5 minutes. The mixture will thicken and turn a beautiful golden color.
Step 3: Stir in the Chocolate and Marshmallow Creme
Remove the pan from the heat and stir in the chocolate chips until they are fully melted and the mixture is smooth. Add the marshmallow creme, vanilla extract, and a pinch of salt. Mix until everything is well combined. The fudge will be thick but still pourable, with a deep, rich chocolate color.
Step 4: Pour and Set
Pour the fudge into a greased or lined 8×8-inch baking dish. Use a spatula to spread it evenly. Let it cool at room temperature for about 30 minutes, then transfer it to the refrigerator to set for at least 2 hours. The fudge will firm up and be ready to cut into squares.
Pro Tip:
For an extra touch, sprinkle some chopped nuts or sea salt on top of the fudge before it sets. It adds a nice crunch and a bit of textural contrast.
Chef’s Tip:
To make the fudge even creamier, add a tablespoon or two of heavy cream to the mixture after the sugar has dissolved. This small addition can make a big difference in the texture.
Timing
Prep time: 10 minutes
Cooking time: 15 minutes
Resting time: 2 hours
Total time: 2 hours 25 minutes
Chef’s Secret
For the best results, use a candy thermometer to check the temperature of the fudge. It should reach the soft-ball stage (235–240°F) before you remove it from the heat. This ensures the perfect consistency.
Extra Info
Did you know that adding a pinch of salt to your fudge enhances the flavor of the chocolate? It’s a little trick that makes a big difference. Give it a try and see how it elevates your fudge!
Necessary Equipment
- Large saucepan
- Wooden spoon or spatula
- 8×8-inch baking dish
- Candy thermometer (optional but recommended)
Storage
Store your Quick Chocolate Fudge in an airtight container in the refrigerator. It will keep for up to 2 weeks. For longer storage, place it in a freezer-safe bag or container and freeze for up to 3 months. Just make sure to let it come to room temperature before serving for the best texture.
When storing, layer the fudge between sheets of wax paper to prevent it from sticking together. This also makes it easier to grab a piece without making a mess. If you’re gifting the fudge, consider wrapping it in a festive tin or a decorative box to keep it fresh and presentable.
Remember, fudge is best enjoyed at room temperature. Take it out of the fridge about 15 minutes before serving to let it soften slightly, making it even more delectable.
Tips and Advice
- Make sure all your ingredients are at room temperature before starting. This helps them blend more smoothly.
- If you’re adding nuts or other mix-ins, fold them in gently just before pouring the fudge into the pan to avoid breaking the chocolate.
- For a fancy touch, drizzle some melted white chocolate over the top of the fudge once it’s set. It looks and tastes amazing!
Presentation Tips
- Cut the fudge into small, bite-sized squares and arrange them on a platter with a variety of other treats, like cookies or brownies.
- Decorate the top of the fudge with a sprinkle of cocoa powder or powdered sugar for a pretty finish.
- For a fun and festive look, top the fudge with edible glitter or colorful sprinkles before it sets.
Healthier Alternative Recipes
While this fudge is a delicious treat, there are several ways to make it a bit healthier without sacrificing flavor. Here are six possible variations:
- Avocado Fudge: Replace half of the butter with mashed avocado for a healthier fat source. The fudge will still be rich and creamy, but with a slight health boost.
- Vegan Fudge: Use coconut oil instead of butter and almond milk instead of regular milk. This version is great for those with dietary restrictions.
- Dark Chocolate Fudge: Swap the semisweet chocolate chips for dark chocolate. This reduces the sugar content and adds beneficial antioxidants.
- Coconut Fudge: Add shredded coconut to the mixture for a tropical twist. Use coconut milk instead of regular milk for an extra coconut flavor.
- Nut-Free Fudge: Omit the nuts and use sunflower seeds or pumpkin seeds for a crunchy element. This is perfect for those with nut allergies.
- Low-Sugar Fudge: Use a sugar substitute like stevia or monk fruit sweetener to reduce the sugar content. Make sure to adjust the amount as these substitutes can be much sweeter than regular sugar.
Common Mistakes to Avoid
Mistake 1: Overcooking the Mixture
Overcooking the fudge mixture can lead to a grainy texture and a burnt taste. To avoid this, use a candy thermometer and take the mixture off the heat when it reaches the soft-ball stage (235–240°F). If you don’t have a thermometer, keep a close eye on the mixture and remove it from the heat when it starts to thicken and darken slightly.
Mistake 2: Not Stirring Enough
Not stirring the mixture enough can result in unevenly cooked fudge. Make sure to stir continuously while the mixture is on the stove to ensure that all the ingredients are well combined and the sugar is fully dissolved. This will give you a smooth, creamy fudge.
Mistake 3: Not Letting It Cool Properly
Impatience can be a virtue, but not when it comes to fudge. Not letting the fudge cool properly before cutting it can cause it to crumble and fall apart. Let it cool at room temperature for at least 30 minutes, then transfer it to the refrigerator to set for at least 2 hours. This will give you clean, neat slices.
Mistake 4: Using Low-Quality Ingredients
Using low-quality ingredients can compromise the flavor and texture of your fudge. Invest in good-quality chocolate, real butter, and pure vanilla extract. These small details can make a big difference in the final product. Trust me, your taste buds will thank you!
Mistake 5: Overworking the Fudge
Stirring the fudge too much after it has cooled can cause it to become grainy and lose its smooth texture. Once the fudge is removed from the heat, stir in the chocolate and marshmallow creme quickly and gently. Then, pour it into the pan and let it set without further disturbance.
FAQ
Can I use a microwave to make this fudge?
Yes, you can! Place the butter and milk in a microwave-safe bowl and heat until the butter is melted. Stir in the sugar and heat in 1-minute intervals, stirring between each, until the sugar is dissolved. Add the chocolate chips, marshmallow creme, vanilla, and salt, and stir until smooth. Pour into a lined pan and chill as directed.
What if I don’t have marshmallow creme?
If you don’t have marshmallow creme, you can use a 7-ounce jar of marshmallows. Melt the marshmallows in the microwave or on the stovetop before adding them to the fudge mixture. This will give you a similar texture and flavor.
Can I add nuts to the fudge?
Absolutely! Adding nuts like pecans, walnuts, or almonds can add a nice crunch and extra flavor to your fudge. Fold them in gently just before pouring the fudge into the pan. This way, the nuts will be evenly distributed throughout the fudge.
How do I know when the fudge is done?
Use a candy thermometer to check the temperature. The fudge should reach the soft-ball stage, which is between 235–240°F. If you don’t have a thermometer, you can drop a small amount of the fudge into a bowl of cold water. If it forms a soft ball, it’s ready. If it’s still too liquid, continue cooking for a bit longer.
Can I use different types of chocolate?
Yes, you can! While the recipe calls for semisweet chocolate chips, you can use dark chocolate, milk chocolate, or even white chocolate. Each type will give you a slightly different flavor, so feel free to experiment and find your favorite.
Can I make this fudge dairy-free?
Yes, you can! Substitute the butter with margarine or coconut oil, and use a dairy-free milk like almond milk or soy milk. Most semisweet chocolate chips are dairy-free, but always check the label to be sure. This way, you can enjoy a delicious, dairy-free fudge.
How long does the fudge need to set?
The fudge needs to set for at least 2 hours in the refrigerator. This allows it to firm up and become sliceable. Let it cool at room temperature for about 30 minutes before transferring it to the fridge. This step is crucial for achieving the perfect fudge texture.
Can I use this recipe to make fudge bars?
Yes, you can! After pouring the fudge into the pan, let it set in the refrigerator. Once it’s firm, cut it into bars instead of small squares. These fudge bars are perfect for parties or as an indulgent treat. Just make sure to let them come to room temperature before serving for the best texture.
Can I add other flavors to the fudge?
Definitely! You can add a variety of flavors to your fudge. Try adding a tablespoon of instant coffee for a mocha flavor, or a teaspoon of peppermint extract for a festive twist. You can also fold in chopped nuts, dried fruit, or even a sprinkle of sea salt for added complexity.
Is this fudge gift-friendly?
Absolutely! This fudge is a great gift. Package it in a cute tin or a small box with a ribbon. It’s sure to be a hit with friends and family. Plus, it’s a thoughtful and delicious way to show someone you care. Just make sure to include a note with storage instructions.
Before you go, don’t forget to check out our other delightful recipes like the Easy Fruit Parfait, the 5-Minute Mug Cake, the Quick Chocolate Delight, and the Easy Vanilla Delight. They’re all easy to make and perfect for any occasion. And if you’re curious about portion information, the FDA offers great guidance to help you serve the right amount.
Final Thoughts
There’s nothing quite like a batch of homemade Quick Chocolate Fudge to bring people together. Whether you’re sharing it with loved ones or enjoying it all by yourself (no judgment here!), this fudge is a sweet and simple delight. I hope you enjoy making and eating this delicious treat as much as I do. Happy cooking and happy snacking!
Quick Chocolate Fudge
Ingredients
Equipment
Method
- In a large saucepan, melt the butter over medium heat.
- Once melted, add the milk and stir until well combined.
- Add the sugar to the butter-milk mixture and stir until it dissolves completely.
- Bring the mixture to a boil, then reduce the heat to low and let it simmer for about 5 minutes.
- Remove the pan from the heat and stir in the chocolate chips until melted and smooth.
- Add the marshmallow creme, vanilla extract, and a pinch of salt; mix until well combined.
- Pour the fudge into a greased or lined 8x8-inch baking dish and spread it evenly.
- Let it cool at room temperature for about 30 minutes, then transfer to the refrigerator to set for at least 2 hours.