
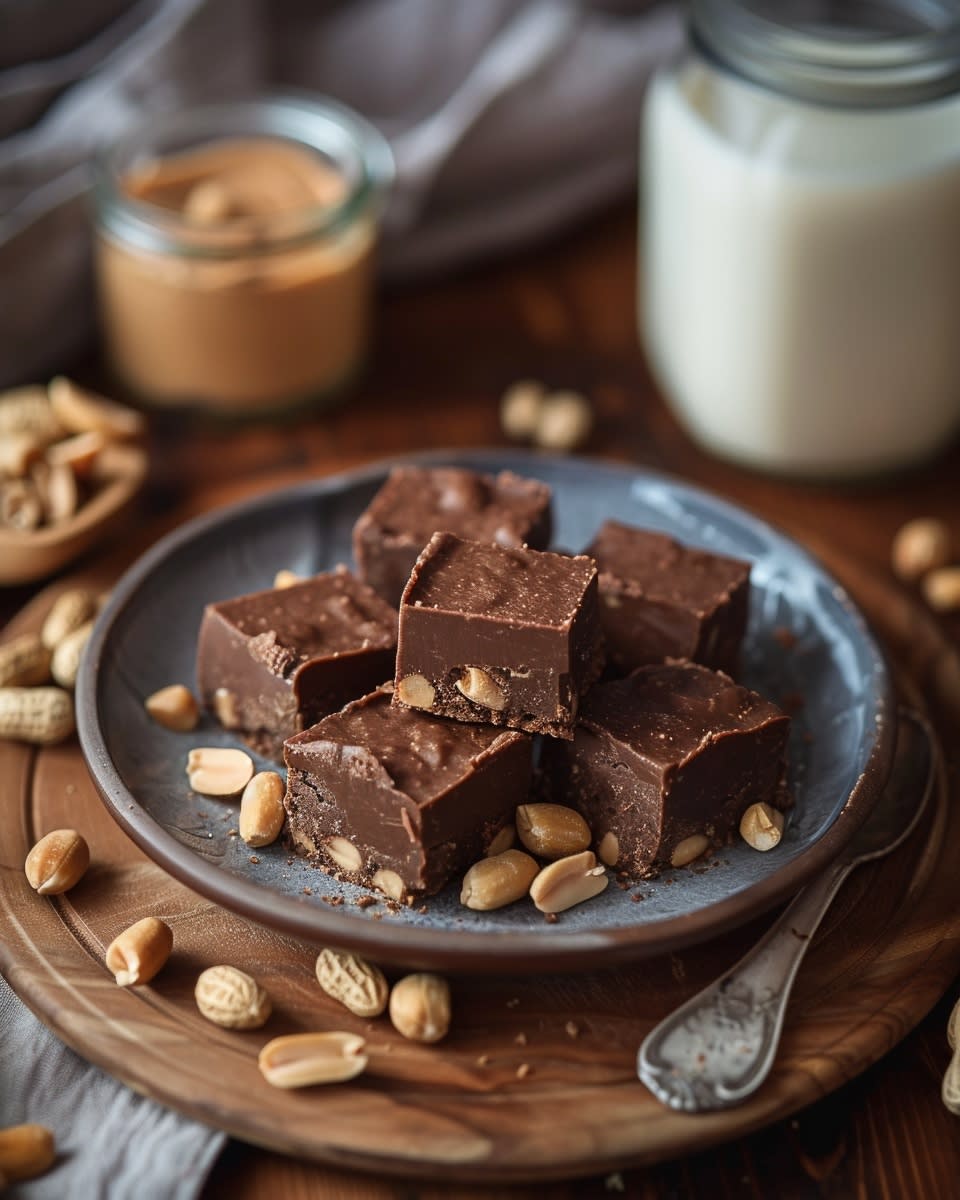
A Treat That’s Easy, Tasty, and Perfect for Any Sweet Tooth
Imagine a delicious, creamy treat that requires no baking and is ready in just a few minutes. No-Bake Peanut Butter Fudge is the answer to all your sweet cravings. It’s a simple, yet indulgent dessert that my family and friends absolutely adore. I’ve been making this for years, and it never fails to bring smiles to everyone’s faces.
The History and Culture Behind No-Bake Peanut Butter Fudge
Growing up, my grandmother used to make this fudge every holiday season. She told me it was a classic recipe passed down through generations. While traditional fudge often requires hours of stirring and precise temperature control, this no-bake version is a modern twist that keeps the classic flavors but simplifies the process. It’s a perfect blend of old and new traditions, making it a hit at any gathering.
Why You’ll Love This No-Bake Delight
If you’re a fan of peanut butter and chocolate, you’re in for a treat. The rich, creamy texture and the perfect balance of sweet and salty make this fudge irresistible. Plus, it’s incredibly easy to make, requiring minimal effort and no baking skills. It’s the ideal dessert for busy days or when you need a quick, satisfying treat.
Perfect Occasions to Prepare No-Bake Peanut Butter Fudge
This fudge is a versatile dessert that fits perfectly into any occasion. Whether it’s a casual family gathering, a holiday party, or a potluck, No-Bake Peanut Butter Fudge is always a crowd-pleaser. It’s also a great last-minute gift idea, beautifully wrapped in a tin or a decorative box.
Ingredients for No-Bake Peanut Butter Fudge
- 1 cup creamy peanut butter
- 1/2 cup unsalted butter, softened
- 4 cups powdered sugar
- 1 teaspoon vanilla extract
- 1/2 cup semisweet chocolate chips
Substitution Options
- Creamy peanut butter can be substituted with crunchy peanut butter for added texture.
- Semisweet chocolate chips can be replaced with dark chocolate or white chocolate for a different flavor profile.
Preparation: Step-by-Step Guide
Step 1: Mix the Peanut Butter and Butter
In a large bowl, combine the creamy peanut butter and softened butter. Use an electric mixer on medium speed to blend them until smooth and creamy. The mixture should be light and fluffy, with a beautiful golden color. Pro tip: Make sure the butter is at room temperature to ensure a smooth blend.
Step 2: Add the Powdered Sugar and Vanilla Extract
Add the powdered sugar and vanilla extract to the peanut butter mixture. Continue mixing on low speed until the ingredients are well combined. The fudge should start to thicken and have a dough-like consistency. The vanilla adds a lovely, subtle aroma that complements the rich peanut butter.
Step 3: Press the Mixture into a Pan
Transfer the fudge mixture to a lined 8×8-inch baking pan. Use a spatula or the back of a spoon to press the mixture firmly and evenly into the pan. Smooth the top to create a flat surface. The fudge should be about 1 inch thick, with a smooth, even layer.
Step 4: Add the Chocolate Layer
Melt the semisweet chocolate chips in a microwave-safe bowl, stirring every 30 seconds until smooth. Pour the melted chocolate over the fudge layer and spread it evenly with a spatula. The rich, glossy chocolate will add a beautiful, luxurious touch to the fudge. Pro tip: Tap the pan gently on the counter to help the chocolate settle and remove any air bubbles.
Step 5: Chill and Cut the Fudge
Place the pan in the refrigerator and let the fudge chill for at least 2 hours, or until it is firm. Once set, use a sharp knife to cut the fudge into small squares. The fudge should be firm enough to cut cleanly, with a smooth, creamy texture inside.
Timing
- Prep Time: 15 minutes
- Chilling Time: 2 hours
- Total Time: 2 hours 15 minutes
Chef’s Secret
To enhance the flavor, try adding a pinch of sea salt to the fudge mixture. The salt will bring out the natural sweetness and richness of the peanut butter and chocolate, creating a more complex and satisfying taste experience.
Extra Info
Did you know that peanut butter was first introduced at the St. Louis World’s Fair in 1904? It quickly became a popular ingredient in American cuisine, and its versatility has made it a staple in many households. This no-bake fudge is a testament to the enduring love for peanut butter and how it can be turned into a delectable treat.
Necessary Equipment
- Large mixing bowl
- Electric mixer
- 8×8-inch baking pan
- Parchment paper or non-stick baking mat
- Spatula
- Microwave-safe bowl
- Sharp knife
Storage
Store the No-Bake Peanut Butter Fudge in an airtight container in the refrigerator. It will stay fresh for up to 2 weeks. For longer storage, you can freeze the fudge for up to 3 months. Just make sure to wrap it tightly in plastic wrap before placing it in a freezer bag. Allow it to thaw in the refrigerator before serving.
When storing, keep the fudge away from strong odors, as it can absorb them. Also, if you notice any condensation forming on the fudge, pat it dry with a paper towel before storing to prevent it from becoming soggy.
For the best texture, serve the fudge at room temperature. Take it out of the refrigerator about 15-20 minutes before serving to allow it to soften slightly. This will make the fudge easier to bite and more enjoyable to eat.
Tips and Advice
- Use a good quality peanut butter for the best flavor. Avoid using reduced-fat or oil-free varieties, as they can affect the texture of the fudge.
- Make sure the butter is at room temperature before mixing. This will help it blend smoothly with the peanut butter.
- If the fudge is too sticky to handle, you can chill it in the refrigerator for a few minutes to firm it up before cutting.
Presentation Tips
- Serve the fudge on a tiered platter for a visually appealing display.
- Garnish each piece with a sprinkle of chopped peanuts or a drizzle of melted chocolate for added texture and flavor.
- Place the fudge in mini muffin liners for a charming, single-serving presentation.
Healthier Alternative Recipes
While the classic No-Bake Peanut Butter Fudge is a delicious treat, there are several variations you can try if you’re looking for a healthier option. Here are six inspired recipes:
- No-Bake Chocolate Oats: A delicious and nutritious alternative, this recipe combines the rich flavors of chocolate and oats. It’s a perfect snack or dessert for those looking to reduce their sugar intake. Check out this No-Bake Chocolate Oats recipe for a guilt-free treat.
- No Bake Lemon Cheesecake: If you’re a fan of tangy and creamy desserts, this no-bake lemon cheesecake is a must-try. It’s light, refreshing, and perfect for summer. Find the recipe here.
- No-Bake Coconut Bars: These bars are a delightful mix of coconut, nuts, and a touch of sweetness. They’re gluten-free and dairy-free, making them a great option for those with dietary restrictions. Get the recipe here.
- No-Bake Banana Cups: These cute and tasty banana cups are a fun and easy-to-make treat. They’re perfect for kids and adults alike. Try this recipe for a naturally sweet and wholesome dessert.
- No-Bake Peanut Butter Energy Balls: These energy balls are packed with protein and fiber, making them a great on-the-go snack. They’re easy to make and can be customized with your favorite add-ins like seeds, nuts, and dried fruits.
- No-Bake Avocado Chocolate Mousse: For a unique and healthy twist, try this avocado chocolate mousse. The avocados add a creamy, rich texture while being full of heart-healthy fats. It’s a decadent treat that’s good for you!
Common Mistakes to Avoid
Mistake 1: Using Cold Butter
Using cold butter can make the fudge mixture lumpy and difficult to mix. Always make sure the butter is at room temperature before starting. This will help it blend smoothly with the peanut butter, resulting in a creamy and even texture. Pro tip: Take the butter out of the refrigerator at least 30 minutes before you start preparing the fudge.
Mistake 2: Not Sifting the Powdered Sugar
Failing to sift the powdered sugar can lead to a lumpy and grainy texture in the fudge. Sift the powdered sugar to remove any clumps and ensure a smooth, creamy consistency. This extra step will make a big difference in the final product. Pro tip: If you don’t have a sifter, you can use a fine-mesh strainer to achieve the same result.
Mistake 3: Adding Too Much Liquid
Adding too much liquid, such as milk or cream, can make the fudge too soft and runny. Stick to the recipe and avoid adding extra liquid unless necessary. The fudge should be thick and hold its shape when cut. Pro tip: If you find the mixture too stiff, add a small amount of milk, one tablespoon at a time, and mix well.
FAQ
Can I use natural peanut butter for this recipe?
Yes, you can use natural peanut butter, but it may affect the texture of the fudge. Natural peanut butter tends to be runnier, so you might need to adjust the amount of powdered sugar to get the right consistency. For best results, use a no-stir natural peanut butter.
How long does the fudge need to chill?
The fudge needs to chill for at least 2 hours in the refrigerator to set properly. This allows the fudge to become firm and easier to cut into neat squares. If you’re in a hurry, you can place it in the freezer for about 30-40 minutes, but be careful not to over-freeze, as it can become too hard to cut.
Can I use margarine instead of butter?
While you can use margarine, it is not recommended as it can alter the taste and texture of the fudge. Butter provides a richer, creamier flavor and a better texture. If you need a dairy-free option, consider using vegan butter or coconut oil.
What can I do if the fudge is too soft?
If the fudge is too soft, you can try chilling it for a bit longer or adjusting the ratio of ingredients. Add a little more powdered sugar to thicken the mixture. Make sure the butter and peanut butter are well combined and the powdered sugar is thoroughly mixed in. Chilling the fudge for an additional hour or so can also help it firm up.
Can I add other flavors to the fudge?
Absolutely! This No-Bake Peanut Butter Fudge is very versatile. You can add other flavors like maple syrup, caramel, or even a hint of cinnamon. You can also fold in chopped nuts, dried fruits, or chocolate chips for added texture and flavor. Get creative and experiment with different combinations to find your favorite.
Is this fudge suitable for gifting?
Yes, this fudge makes a wonderful gift. You can wrap it in a nice tin or a decorative box and give it to friends and family. It’s a thoughtful and delicious homemade present that’s sure to be appreciated. Just make sure to store it in an airtight container to keep it fresh.
Can I make this fudge without chocolate?
Yes, you can make the fudge without the chocolate layer. Simply follow the recipe for the peanut butter portion and skip the chocolate topping. This will result in a pure peanut butter fudge that is still delicious and satisfying. You can also add a sprinkle of coarse salt on top for a sweet and salty twist.
Is this fudge gluten-free?
Yes, this No-Bake Peanut Butter Fudge is naturally gluten-free. Just make sure to check the labels of the ingredients you use, especially the peanut butter and powdered sugar, to ensure there are no hidden sources of gluten. This fudge is a great option for those with gluten sensitivities or celiac disease.
Can I use a different type of nut butter?
Yes, you can use other types of nut butter, such as almond butter, cashew butter, or sunflower seed butter. Each type of nut butter will give the fudge a unique flavor and texture. Just keep in mind that the consistency may vary, so you may need to adjust the amount of powdered sugar to achieve the right thickness.
How can I make this fudge lower in sodium?
To make this fudge lower in sodium, choose unsalted butter and check the labels of your peanut butter and other ingredients to ensure they are low in sodium. Opting for natural, unsalted versions of these ingredients can significantly reduce the overall sodium content. According to the CDC, reducing sodium intake can have numerous health benefits, including lowering blood pressure and reducing the risk of heart disease.
Final Thoughts
This No-Bake Peanut Butter Fudge is a delightful and easy-to-make treat that’s perfect for any occasion. Whether you’re a seasoned baker or a beginner, this recipe is foolproof and always turns out delicious. I hope you enjoy making and sharing this fudge with your loved ones. For more delicious no-bake recipes, check out our No-Bake Desserts section. Happy cooking!
No-Bake Peanut Fudge
Ingredients
Equipment
Method
- In a large bowl, combine the creamy peanut butter and softened butter, then blend until smooth and creamy.
- Add the powdered sugar and vanilla extract to the mixture, and mix until well combined and thickened.
- Transfer the fudge mixture to a lined 8x8-inch baking pan and press it firmly and evenly into the pan.
- Melt the semisweet chocolate chips in a microwave-safe bowl, then pour the melted chocolate over the fudge layer and spread evenly.
- Chill the fudge in the refrigerator for at least 2 hours, then cut into small squares.